
In this section we are going to walk through the process of using Apache Zeppelin and Apache Spark to interactively analyze data on a Apache Hadoop Cluster.
By the end of this tutorial, you will have learned:
- How to interact with Apache Spark from Apache Zeppelin
- How to read a text file from HDFS and create a RDD
- How to interactively analyze a data set through a rich set of Spark API operations
Getting started
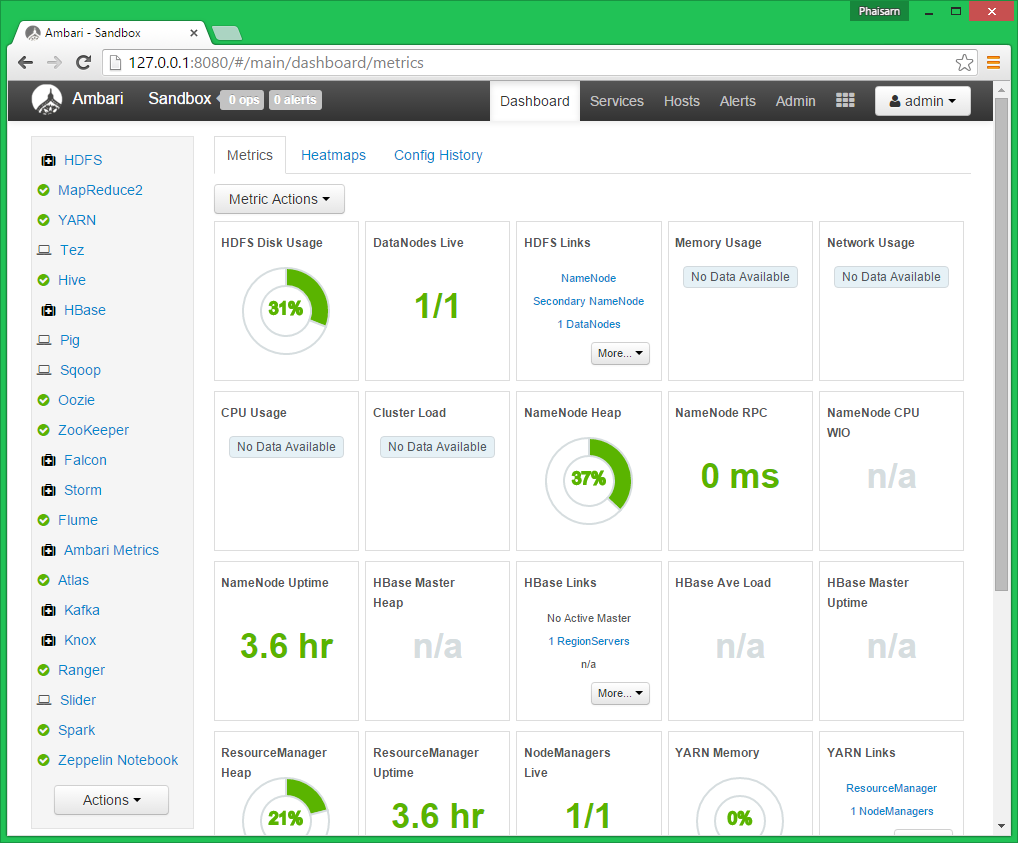
First we have to ensure that spark and zeppelin are running.
Ambari runs on port 8080: http://localhost:8080 or http://127.0.0.1:8080
Zeppelin runs on port 9995: http://localhost:9995
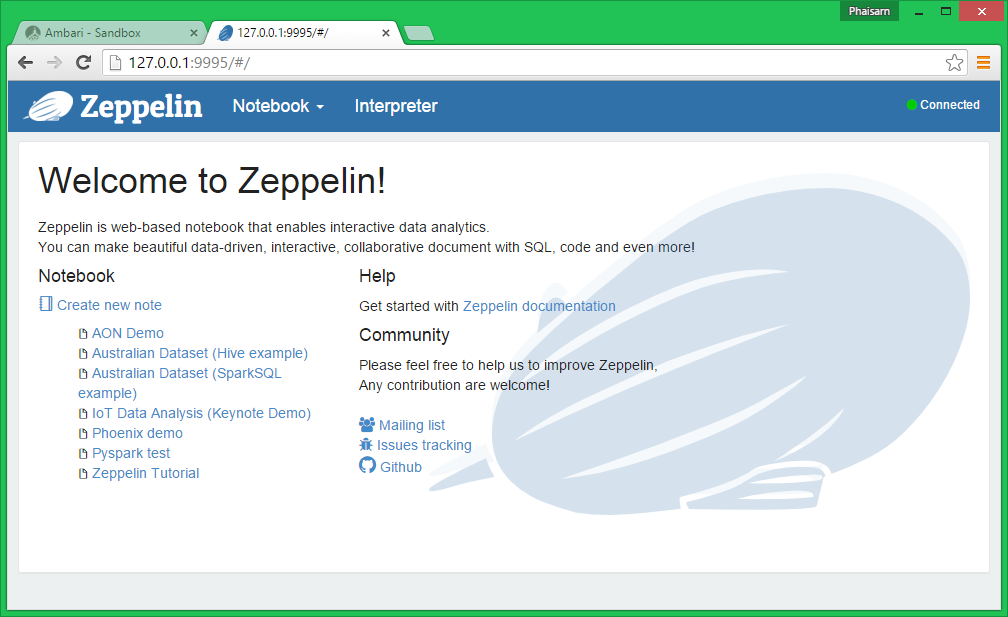
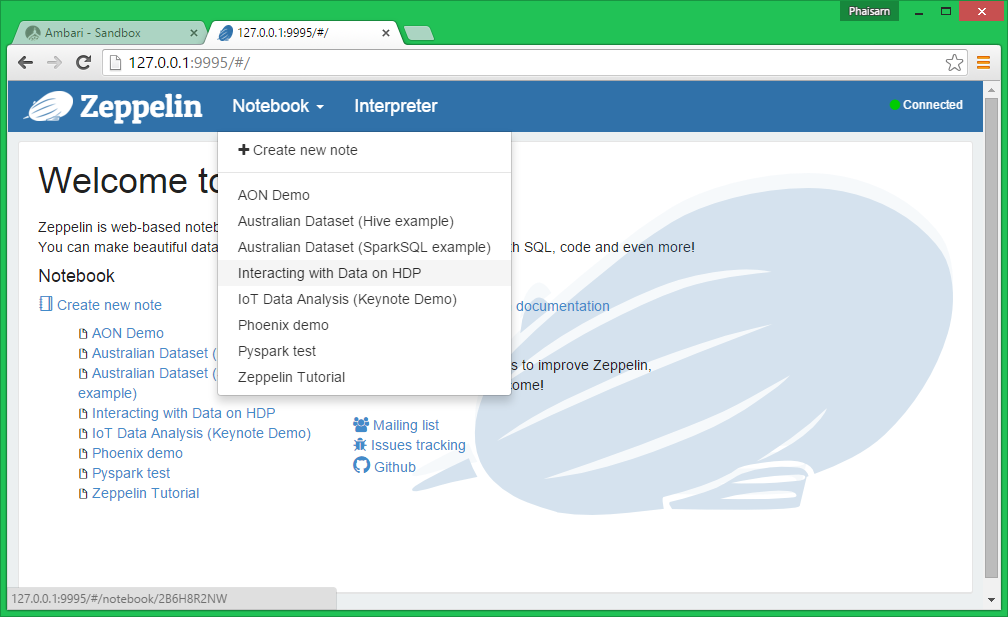
Click on Notebook and create a new note.
Note Name: Interacting with Data on HDP

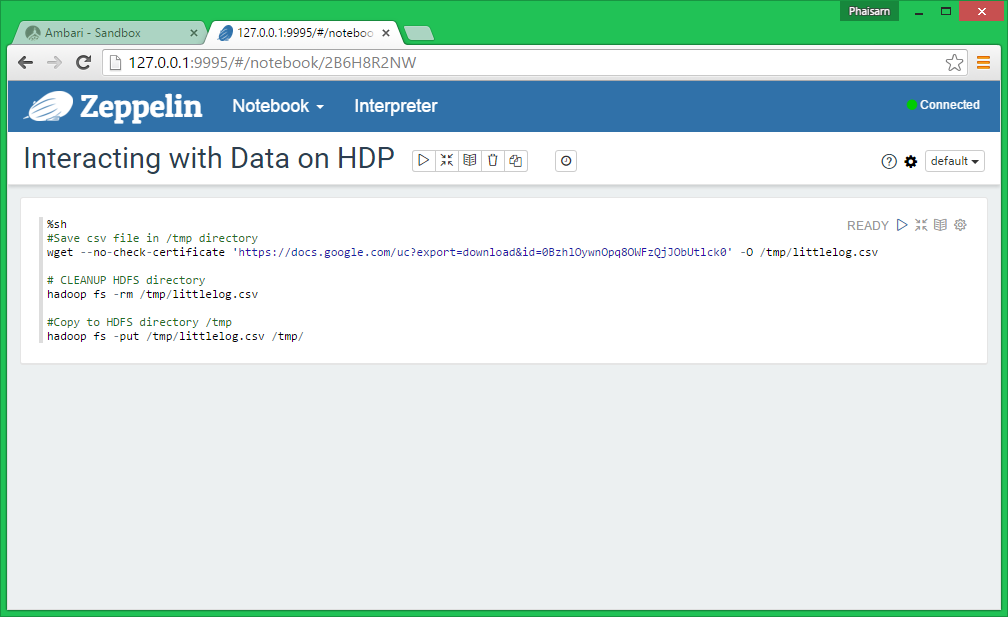
You can use the Shell Interpreter by adding %sh at the beginning.
Next, let’s save littlelog.csv in our local sandbox /tmp directory and upload it to the HFDS /tmp directory
|
1 2 3 4 5 6 7 8 9 10 |
%sh #Save csv file in /tmp directory wget --no-check-certificate 'https://docs.google.com/uc?export=download&id=0BzhlOywnOpq8OWFzQjJObUtlck0' -O /tmp/littlelog.csv # CLEANUP HDFS directory hadoop fs -rm /tmp/littlelog.csv #Copy to HDFS directory /tmp hadoop fs -put /tmp/littlelog.csv /tmp/ |
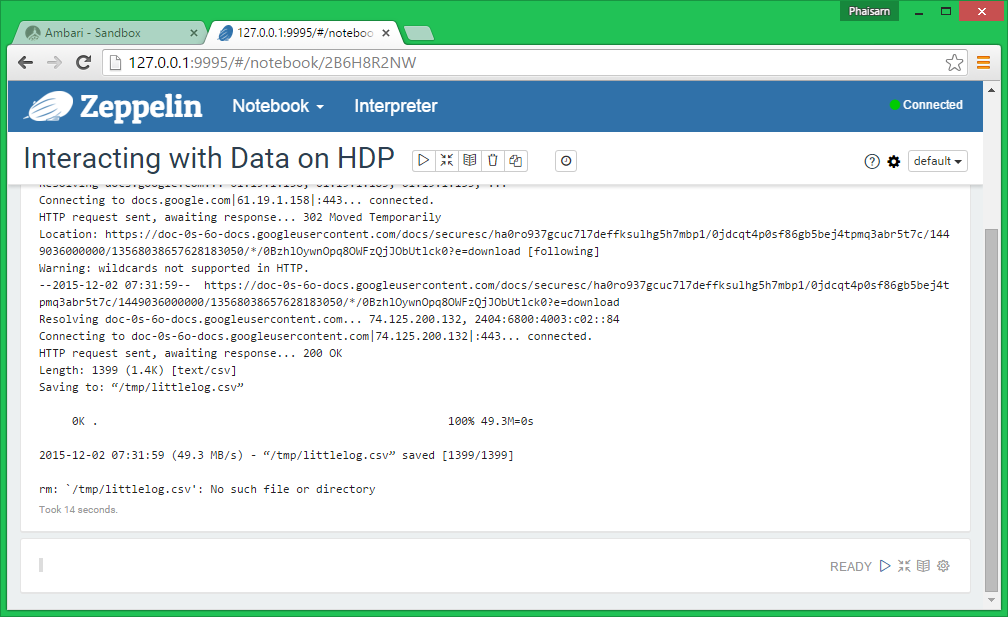
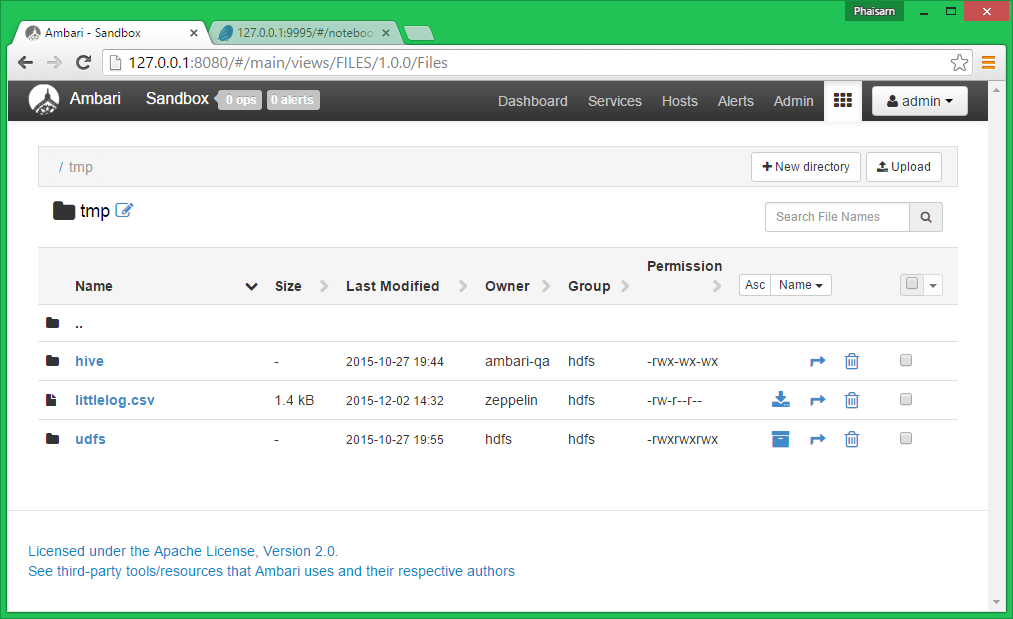
Open the HDFS Files view and navigate to /tmp to verify that littlelog.csv has been uploaded correctly.
In Spark, datasets are represented as a list of entries, where the list is broken up into many different partitions that are each stored on a different machine. Each partition holds a unique subset of the entries in the list. Spark calls datasets that it stores Resilient Distributed Datasets (RDDs).
So let’s create a RDD from our littlelog.csv:
|
1 |
<span class="pl-k">val</span> <span class="pl-en">file</span> <span class="pl-k">=</span> sc.textFile(<span class="pl-s"><span class="pl-pds">"</span>hdfs://sandbox.hortonworks.com:8020/tmp/littlelog.csv<span class="pl-pds">"</span></span>) |
Now we have a freshly created RDD. We have to use an action operation like collect() to gather up the data into the drivers memory and then to print out the contents of the file:
|
1 |
file.collect().foreach(println) |
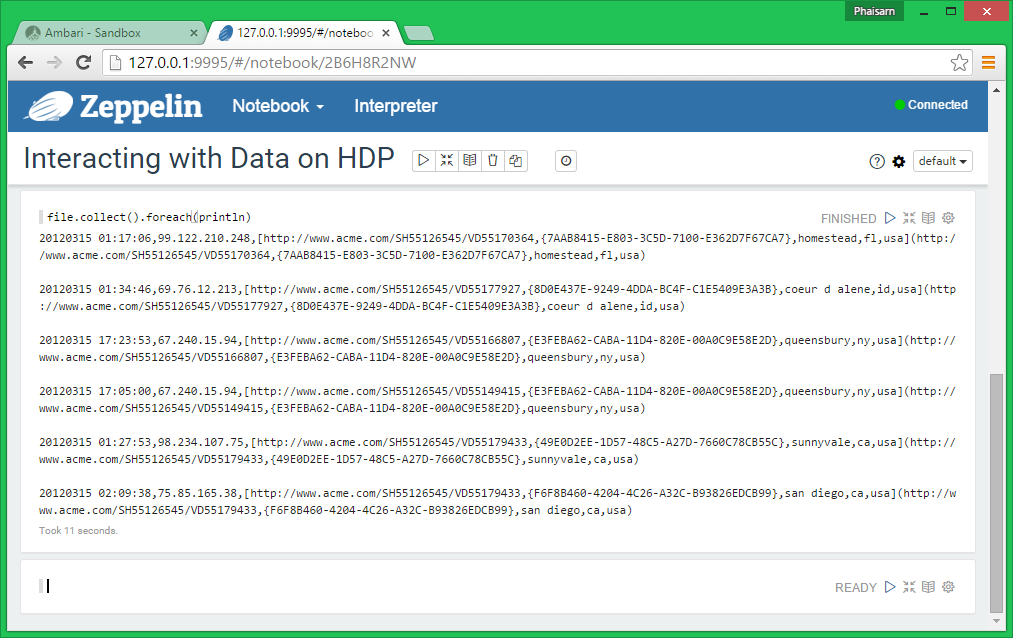
Remember doing a collect() action operation on a very large distributed RDD can cause your driver program to run out of memory and crash. So, do not use collect() except for when you are prototyping your Spark program on a small dataset.
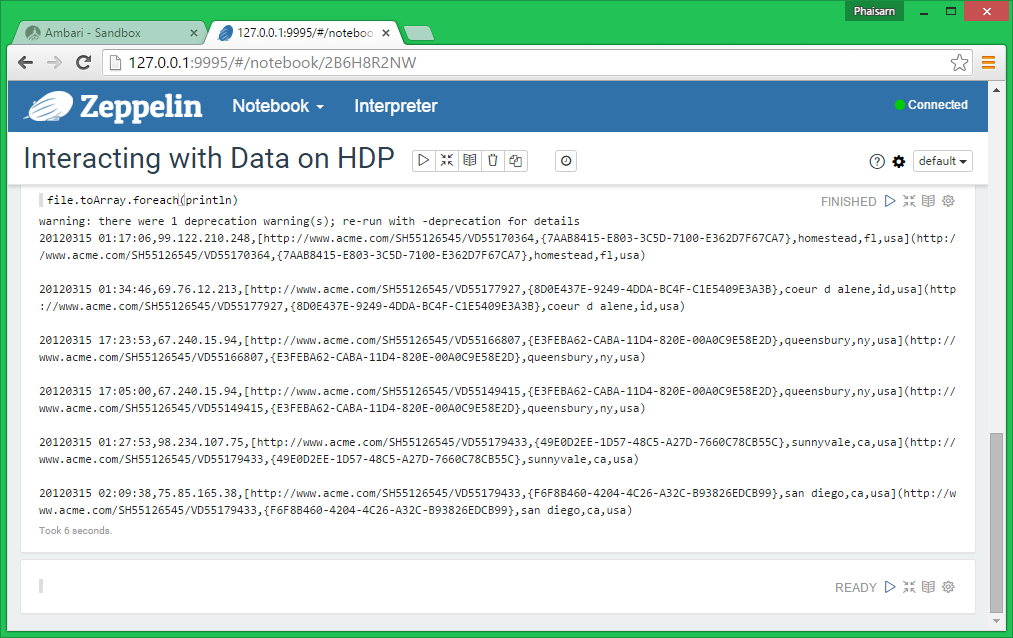
Another way to print the content of the RDD is
|
1 |
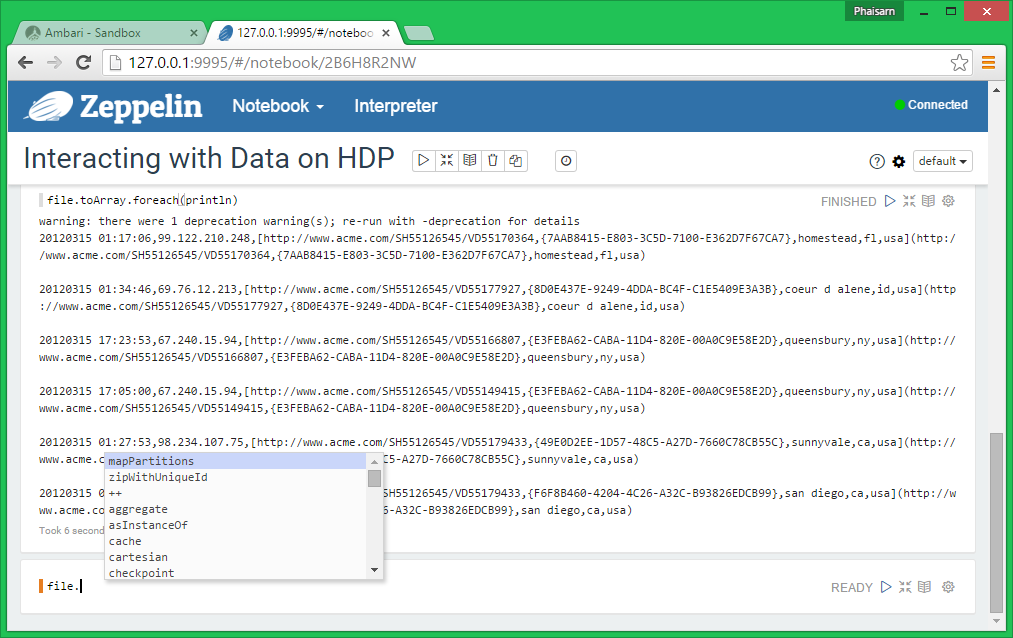
file.toArray.foreach(println) |
In fact you can easily discover other methods that apply to this RDD by auto-completion.
Type the name of the RDD followed by a ., in our case it’s file. and then press the crtl +- + .
Now let’s extract some information from this data.
Let’s create a map where the state is the key and the number of visitors is the value.
Since state is the 6th element in each row of our text in littlelog.csv (index 5), we need to use a map operator to pass in the lines of text to a function that will parse out the 6th element and store it in a new RDD containing two elements as the key, then count the number of times it appears in the set and provide that number as the value in the second element of this new RDD.
By using the Spark API operator map, we have created or transformed our original RDD into a newer one.
So let’s do it step by step. First let’s filter out the blank lines.
|
1 |
<span class="pl-k">val</span> <span class="pl-en">fltr</span> <span class="pl-k">=</span> file.filter(_.length <span class="pl-k">></span> <span class="pl-c1">0</span>) |
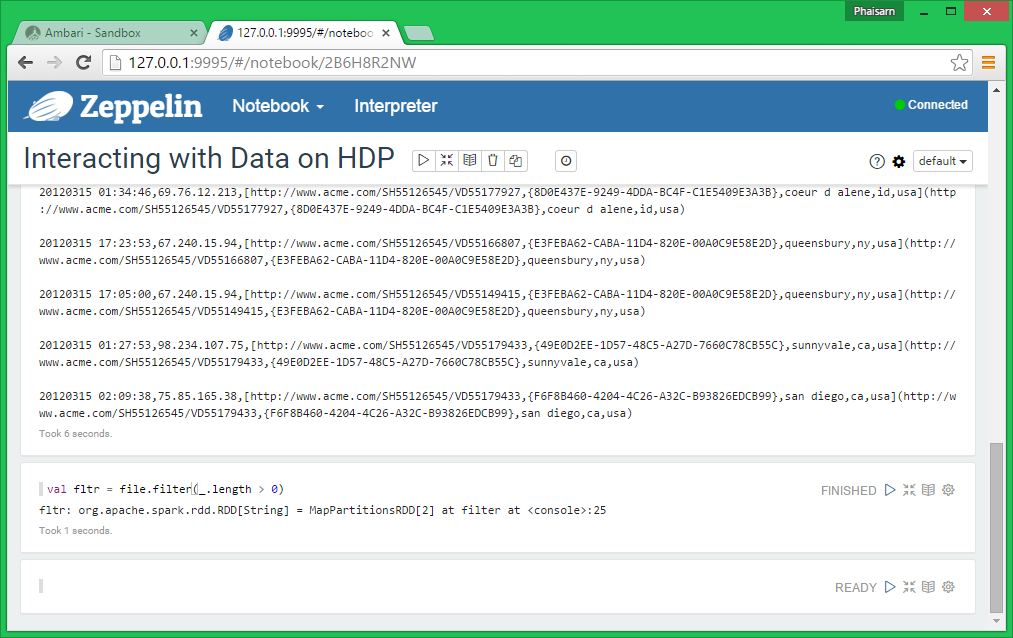
WAIT!* What is that doing there? *
_ is a shortcut or wildcard in Scala that essentially means ‘whatever happens to be passed to me’.
You can also write:
|
1 |
<span class="pl-k">val</span> <span class="pl-en">fltr</span> <span class="pl-k">=</span> file.filter(x <span class="pl-k">=></span> x.length <span class="pl-k">></span> <span class="pl-c1">0</span>) |
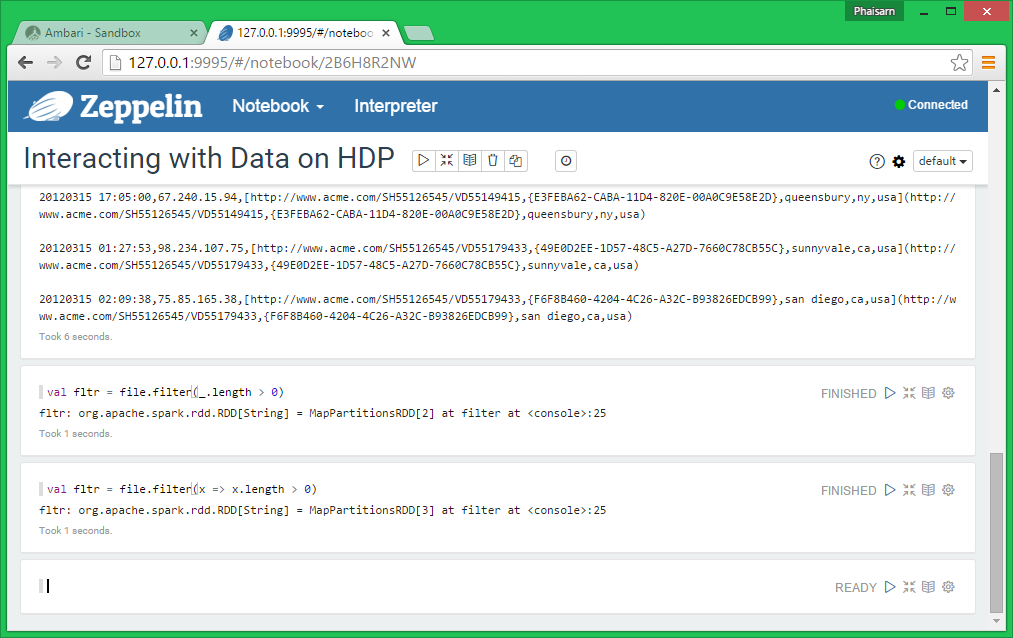
So, in the above code the _ or the x stands for each row of our file RDD: if the row length > 0 is, hence not empty, then assign it to fltr which is a new RDD.
So, we are invoking the method length on an unknown whatever and trusting that Scala will figure out that the thing in each row of the file RDD is actually a String that supports the length operator.
In other words within the parenthesis of our filter method we are defining the argument: ‘whatever’, and the logic to be applied to it.
This pattern of constructing a function within the argument to a method is one of the fundamental characteristics of Scala and once you get used to it, it will make sense and speed up your programming a lot.
Then let’s split the line into individual columns seperated by , and then let’s grab the 6th columns, which means the column with index 5.
|
1 |
<span class="pl-k">val</span> <span class="pl-en">keys</span> <span class="pl-k">=</span> fltr.map(_.split(<span class="pl-s"><span class="pl-pds">"</span>,<span class="pl-pds">"</span></span>)).map(a <span class="pl-k">=></span> a(<span class="pl-c1">5</span>)) |
Let’s illustrate the query above with an example:
This is a row of the littlelog.csv file:
|
1 2 |
20120315 01:17:06,99.122.210.248,[http://www.acme.com/SH55126545/VD55170364,{7AAB8415-E803-3C5D-7100-E362D7F67CA7},homestead,fl,usa](http://www.acme.com/SH55126545/VD55170364,{7AAB8415-E803-3C5D-7100-E362D7F67CA7},homestead,fl,usa) |
if we execute the query, first, each row of the fltr RDD is having the split(“,”) method called on it.
It will seperate all columns with a , between them.
|
1 2 3 4 5 6 7 8 9 10 11 12 13 14 |
[ 20120315 01:17:06, 99.122.210.248, [http://www.acme.com/SH55126545/VD55170364, {7AAB8415-E803-3C5D-7100-E362D7F67CA7}, homestead, fl, usa](http://www.acme.com/SH55126545/VD55170364, {7AAB8415-E803-3C5D-7100-E362D7F67CA7}, homestead, fl, usa) ] |
This split function results in an anonymous RDD consisting of arrays like the one above.
The anonymous RDD is passed to the map function.
In this case, each array in the anonymous RDD is assigned to the variable ‘a’.
Then we extract the 6th element from it, which ends up being added to the named RDD called ‘keys’we declared at the start of the line of code.

Then let’s print out the values of the key.
|
1 |
keys.collect().foreach(println) |

Notice that some of the states are not unique and repeat. We need to count how many times each key (state) appears in the log.
|
1 2 3 4 |
<span class="pl-k">val</span> <span class="pl-en">stateCnt</span> <span class="pl-k">=</span> keys.map(key <span class="pl-k">=></span> (key,<span class="pl-c1">1</span>)) <span class="pl-c">//print stateCnt</span> stateCnt.toArray.foreach(println) |

You can see, how our new RDD stateCnt looks like.RDD[(String, Int)].
The String is our key and the Integer is 1.
Next, we will iterate through each row of the stateCnt RDD and pass their contents to a utility method available to our RDD that counts the distinct number of rows containing each key
|
1 |
<span class="pl-k">val</span> <span class="pl-en">lastMap</span> <span class="pl-k">=</span> stateCnt.countByKey |

Now, let’s print out the result.
|
1 |
lastMap.foreach(println) |
Result: a listing of state abbreviations and the count of how many times visitors from that state hit our website.

Note that at this point you still have access to all the RDDs you have created during this session. You can reprocess any one of them, for instance, again printing out the values contained in the keys RDD:
|
1 |
keys.collect().foreach(println) |

I hope this has proved informative and that you have enjoyed this simple example of how you can interact with Data on HDP using Scala and Apache Spark.