
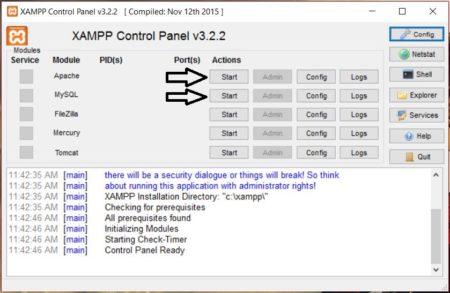
Step-1 start ทัง Apache และ MySQL
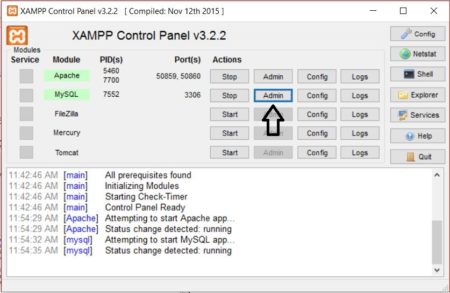
Step-2 คลิกที่ปุ่ม ‘Admin’ ของ MySQL หรือเปิดเบาร์เซอร์เรียก http://localhost/phpmyadmin
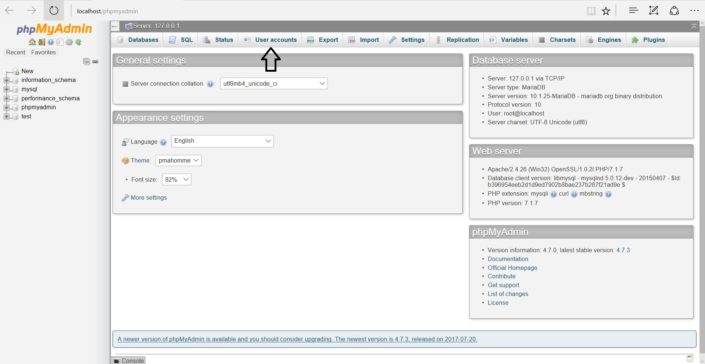
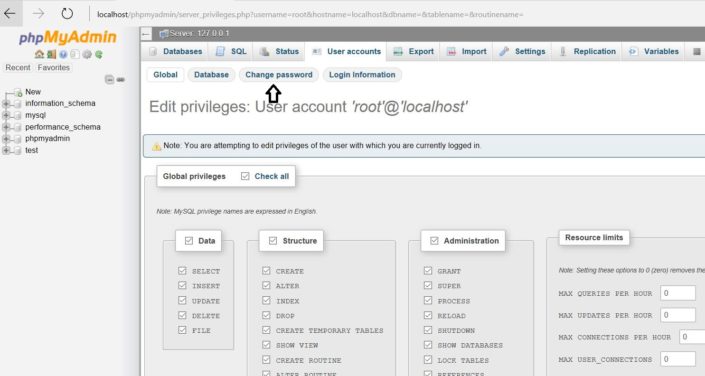
Step-3 คลิกที่ปุ่ม ‘User accounts’
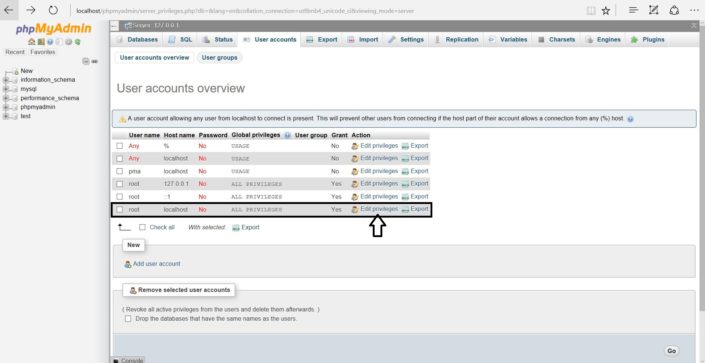
Step-4 คลิกที่ ‘Edit privileges’ ของผู้ใช้ชื่อ ‘root’ ที่มี Host เป็น ‘localhost’
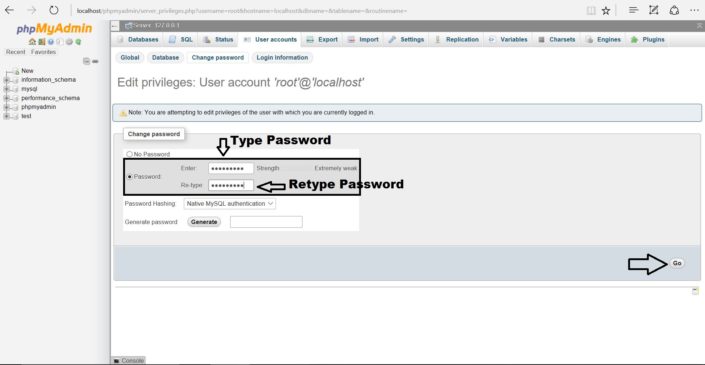
Step-5 (Screenshot-5) Now click on ‘Change password’ button.
Step-6 ตั้งรหัสผ่าน และกดปุ่ม ‘Go’
Step-7 เปิด phpMyAdmin ในแท็บใหม่จะเจอ Error ตามนี้ access denied message
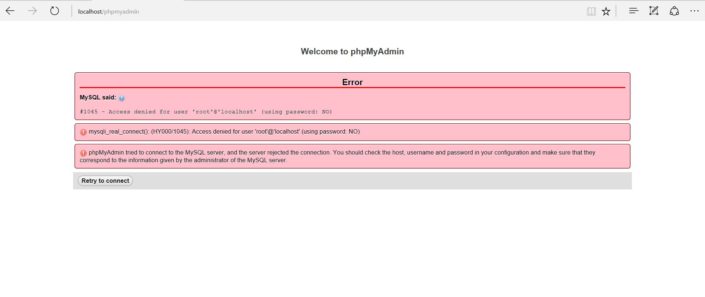
MySQL said: #1045 – Access denied for user ‘root’@’localhost’ (using password: NO)
mysqli_real_connect(): (HY000/1045): Access denied for user ‘root’@’localhost’ (using password: NO)
phpMyAdmin tried to connect to the MySQL server, and the server rejected the connection. You should check the host, username and password in your configuration and make sure that they correspond to the information given by the administrator of the MySQL server.
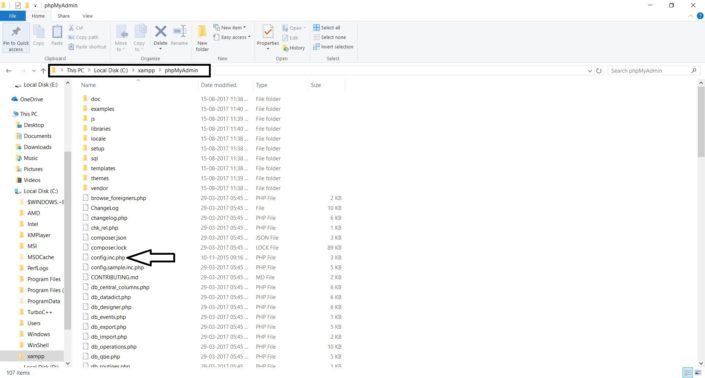
Step-8 ไปที่ ‘C:\xampp\phpMyAdmin‘ และหาไฟล์ ‘config.inc.php‘
Step-9 ใส่รหัสผ่านที่ตั้งไว และแก้ไขค่า AllowNoPassword จาก true เป็น false
จาก
[code]
$cfg[‘Servers’][$i][‘password’] = ”;
…
$cfg[‘Servers’][$i][‘AllowNoPassword’] = true;
[/code]
เป็น
[code]
$cfg[‘Servers’][$i][‘password’] = ‘xxxxxxx’;
…
$cfg[‘Servers’][$i][‘AllowNoPassword’] = false;
[/code]
Link