
Test on Windows7 SP1 32-bit
Pre-Requisites
- Microsoft Visual C++ 2010.
- CMake 2.8.2.
ขั้นตอนการคอมไพล์ OpenCV-2.1.0 ด้วย CMake และ Visual C++ 2010
- เตรียม Solution ของ OpenCV 2.1.0 ด้วย CMake
- Build OpenCV 2.1.0 Solution ด้วย Visual C++ 2010
- สร้างโปรเจ็กส์ HelloWorld บน Visual C++ 2010
- Configure Project Directories
เตรียม Solution ของ OpenCV 2.1.0 ด้วย CMake
- Download OpenCV-2.1.0-win.zip
- Extract to ‘C:\Program Files\’
- Create new folder: ‘C:\Program Files\OpenCV-2.1.0\build‘
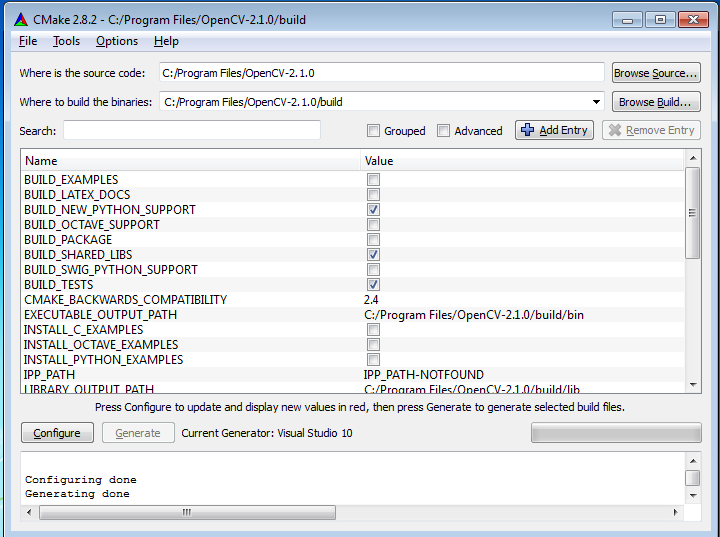
- Start -> Programs -> CMake 2.8 -> CMake (cmake-gui).
- Where is the source code: ‘C:/Program Files/OpenCV-2.1.0/’
- Where to build the binaries: ‘C:/Program Files/OpenCV-2.1.0/build‘
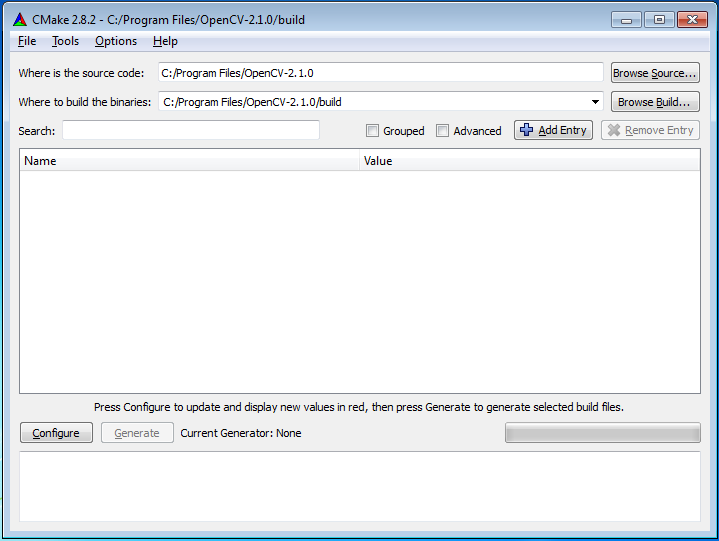
- Click ‘Configure‘ button
- Specify the generator for this project: Visual Studio 10
- select Use default native compilers
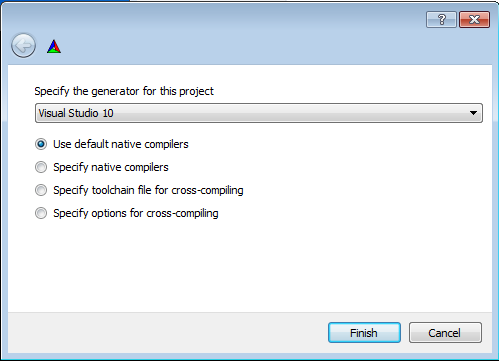
- Click ‘Configure‘ button
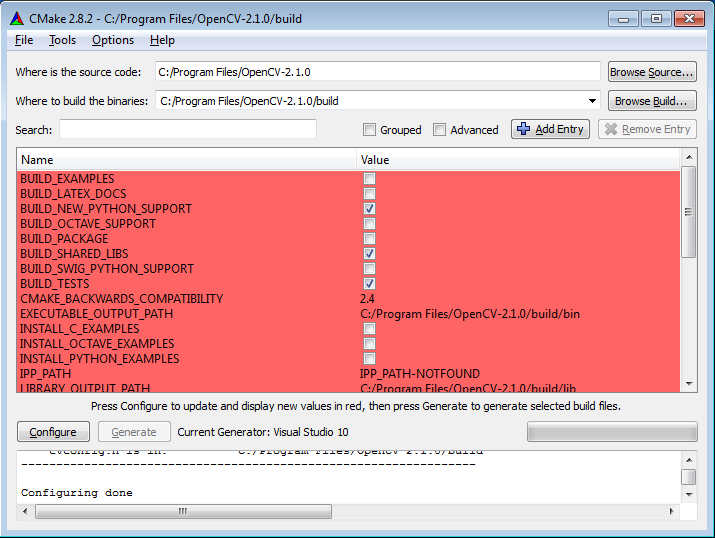
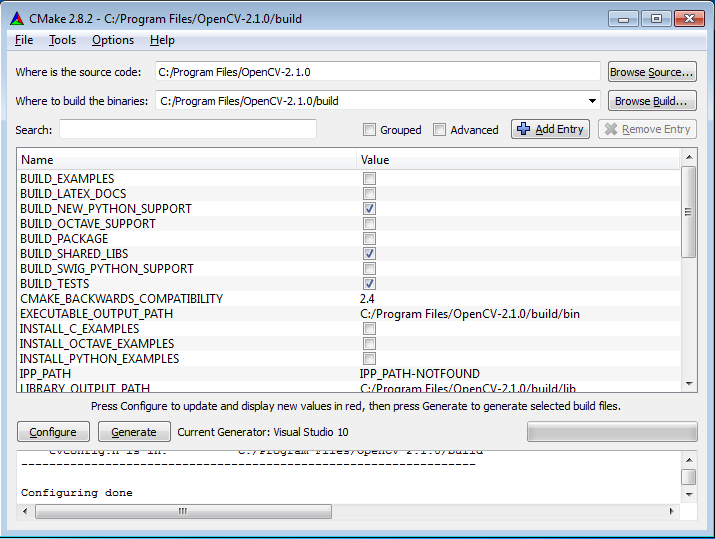
- Click ‘Generate‘ button
Build OpenCV 2.1.0 Solution
Start -> Programs -> Microsoft Visual Studio 2010 -> Microsoft Visual C++ 2010
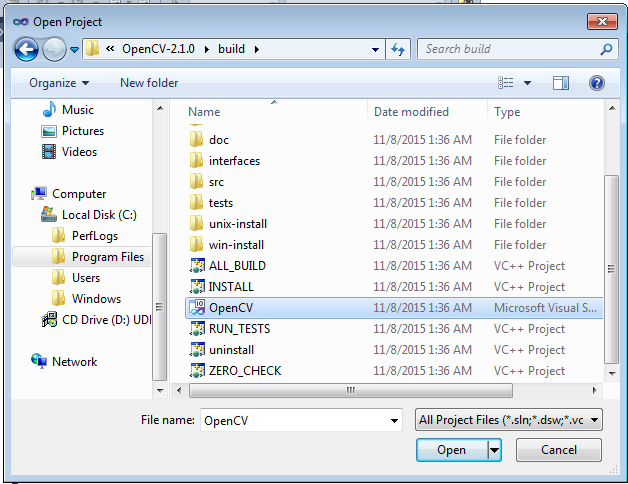
- File -> Open -> Project/Solution…’C:\Program Files\OpenCV-2.1.0\build\OpenCV.sln‘
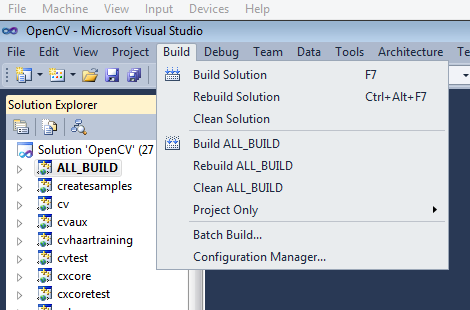
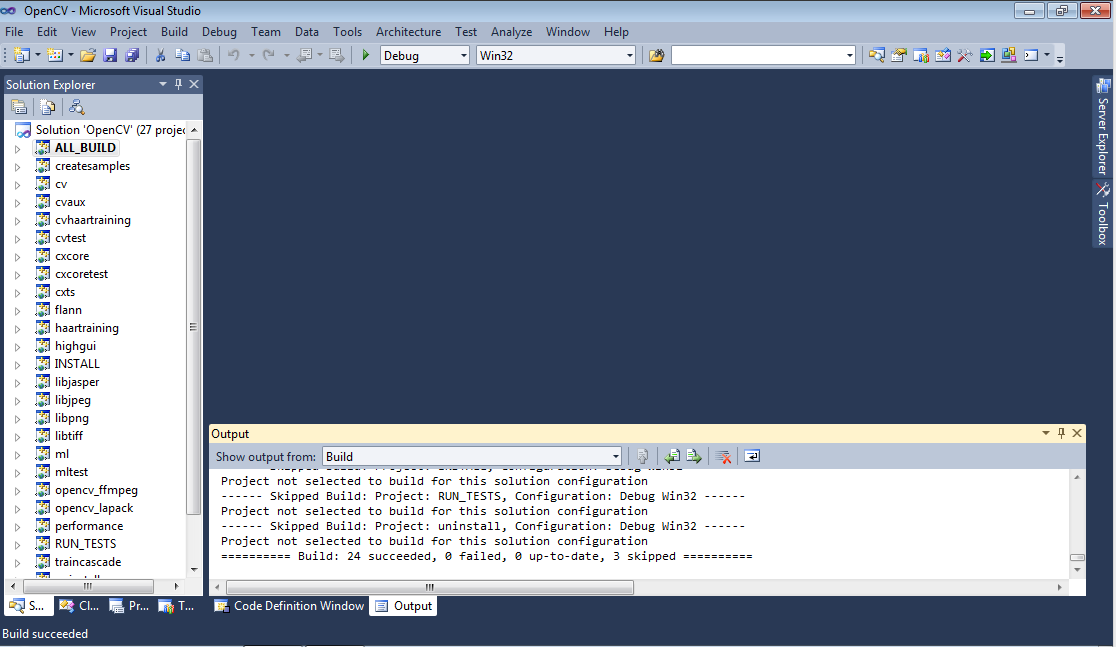
- After MSVC has finished parsing all of the files (It will say ‘Ready‘ in the bottom left corner): Build -> Build Solution
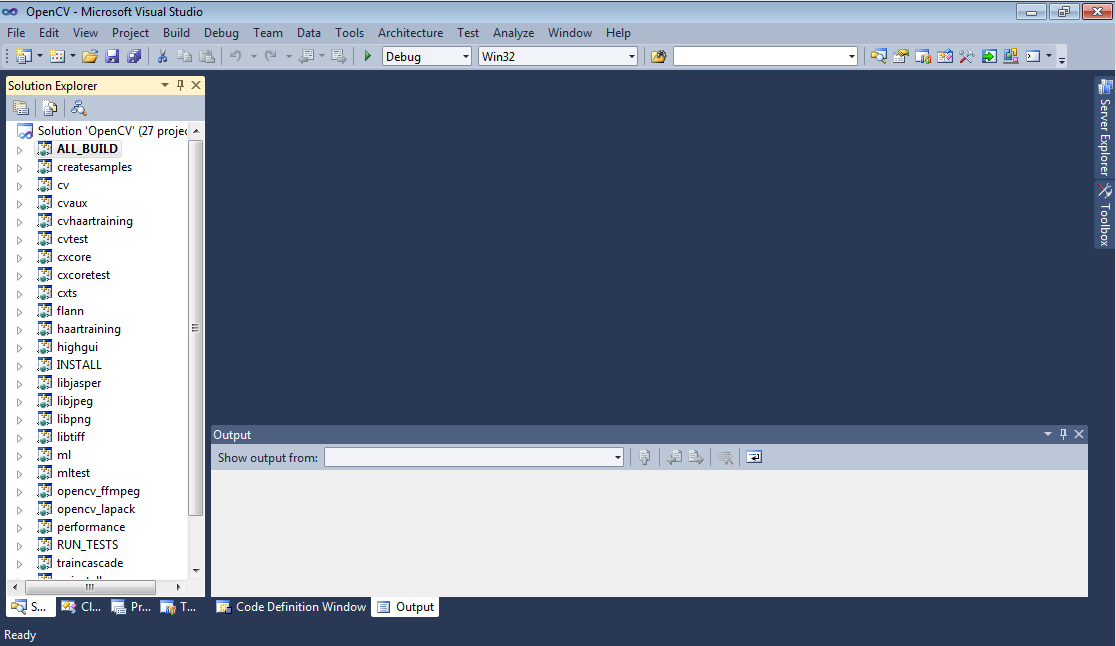
- After some time, OpenCV should build successfully.
สร้างโปรเจ็กส์ HelloWorld
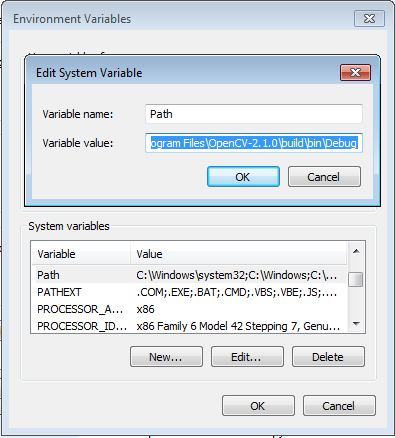
- To permanantly include necessary .dll files, add ‘C:\Program Files\OpenCV-2.1.0\build\bin\Debug‘ to PATH by visiting Advanced tab in System of Windows. (add to system path manually)
- Start -> Programs -> Microsoft Visual Studio 2010 -> Microsoft Visual C++ 2010
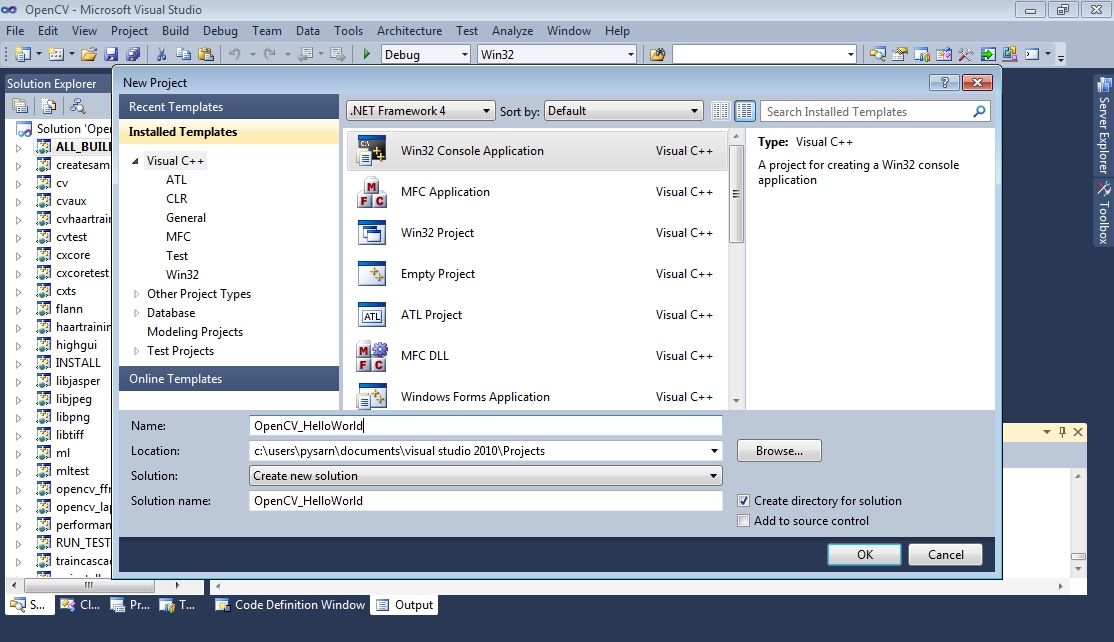
- File -> New -> Project
- Name: ‘OpenCV_Helloworld‘…’OK’…’Finish’
Configure Project Directories
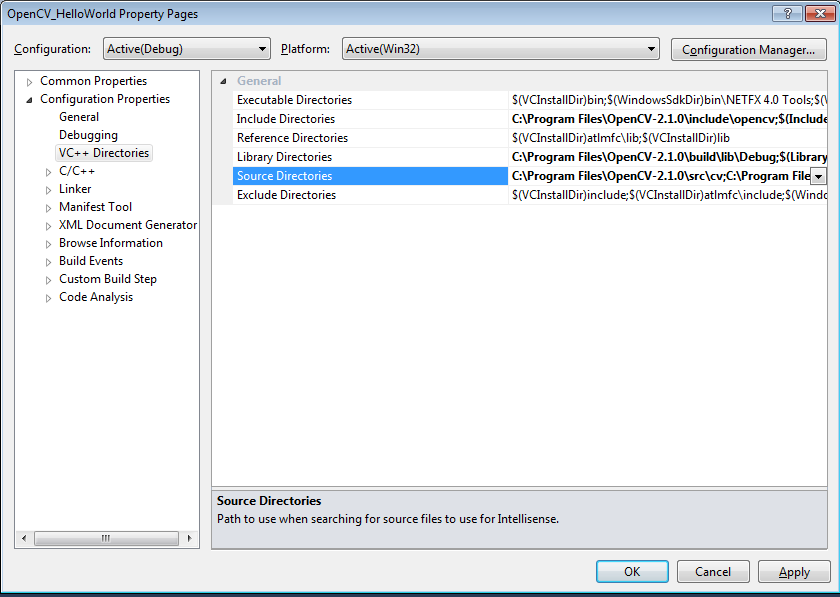
- Project -> OpenCV_Helloworld Properties…Configuration Properties -> VC++ Directories
- Include Directories…add: ‘C:\Program Files\OpenCV-2.1.0\include\opencv;’
- Library Directories…add: ‘C:\Program Files\OpenCV-2.1.0\build\lib\Debug;’
- Source Directories…add: ‘C:\Program Files\OpenCV-2.1.0\src\cv;C:\Program Files\OpenCV-2.1.0\src\cvaux;C:\Program Files\OpenCV-2.1.0\src\cxcore;C:\Program Files\OpenCV-2.1.0\src\highgui;C:\Program Files\OpenCV-2.1.0\src\ml;’
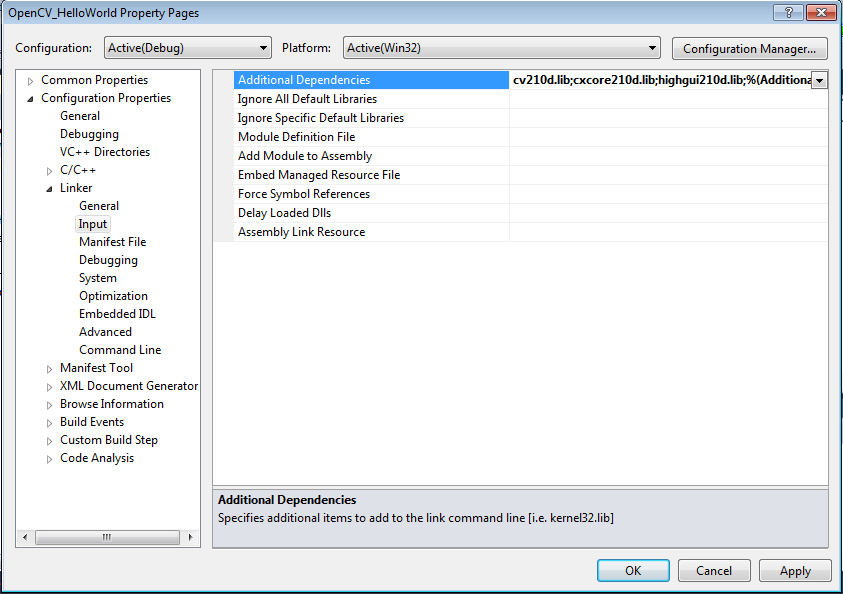
- Linker -> Input -> Additional Dependencies…add: ‘cv210d.lib;cxcore210d.lib;highgui210d.lib;‘
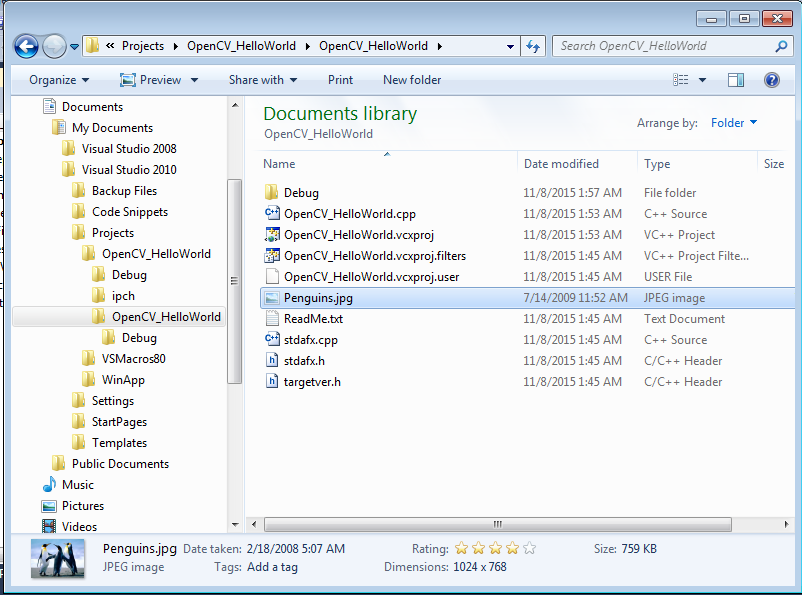
- copy image test to project directory
|
1 2 3 4 5 6 7 8 9 10 11 12 13 14 15 16 17 |
#include "stdafx.h" #include <cv.h> #include <cxcore.h> #include <highgui.h> int _tmain(int argc, _TCHAR* argv[]) { IplImage *img = cvLoadImage("funny-pictures-cat-goes-pew.jpg"); cvNamedWindow("Image:",1); cvShowImage("image:",img); cvWaitKey(); cvDestroyWindow("Image:"); cvReleaseImage(&img); return 0; } |
ที่มา: OpenCV-2.1.0 using CMake and Visual C++ 2010 Express on Windows XP SP3 32-bit
ปล. ติดตั้งจาก OpenCV-2.1.0-win32-vs2008.exe (ไม่ได้ใช้ CMake) แล้วกำหนดค่า Proproties ของ Project ตามข้างบนแล้ว แต่เวลา run แล้วเกิด Error ดังนี้ “The application was unable to start correctly (0xc0150002)” ทางแก้คือ เปลี่ยนจาก ‘cv210d.lib;cxcore210d.lib;highgui210d.lib;‘ เป็น ‘cv210.lib;cxcore210.lib;highgui210.lib;‘ http://opencv-users.1802565.n2.nabble.com/Application-failed-to-start-correctly-0xc0150002-td4107823.html