Monthly Archives: September 2018
การจัดการอีเวนต์ ด้วยการสร้าง Method ขึ้นมา
activity_main.xml
|
1 2 3 4 5 6 7 8 9 10 11 12 13 14 15 16 17 18 19 20 21 22 23 |
<?xml version="1.0" encoding="utf-8"?> <LinearLayout xmlns:android="http://schemas.android.com/apk/res/android" xmlns:app="http://schemas.android.com/apk/res-auto" xmlns:tools="http://schemas.android.com/tools" android:layout_width="match_parent" android:layout_height="match_parent" android:gravity="center" android:orientation="vertical" tools:context=".MainActivity"> <Button android:id="@+id/button1" android:layout_width="wrap_content" android:layout_height="wrap_content" android:text="Button1" /> <Button android:id="@+id/button2" android:layout_width="wrap_content" android:layout_height="wrap_content" android:text="Button2" /> </LinearLayout> |
MainActivity.java
|
1 2 3 4 5 6 7 8 9 10 11 12 13 14 15 16 17 18 19 20 21 22 23 24 25 26 27 28 29 |
package com.phaisarn.myapplication; import android.support.v7.app.AppCompatActivity; import android.os.Bundle; import android.view.View; import android.widget.Button; import android.widget.Toast; public class MainActivity extends AppCompatActivity { @Override protected void onCreate(Bundle savedInstanceState) { super.onCreate(savedInstanceState); setContentView(R.layout.activity_main); Button button1 = findViewById(R.id.button1); button1.setOnClickListener(myTouchMethod); Button button2 = findViewById(R.id.button2); button2.setOnClickListener(myTouchMethod); } View.OnClickListener myTouchMethod = new View.OnClickListener() { @Override public void onClick(View view) { Toast.makeText(getApplicationContext(), "Hello World!", Toast.LENGTH_SHORT).show(); } }; } |
บรรทัดที่ 17,20 : เรียกใช้ myTouchMethod
Android: การส่ง key (simulate key press)
You can use instrumentation, ie following code called from onCreate of your activity will cause menu to be opened and closed multiple times:
MainActivity.java
|
1 2 3 4 5 6 7 8 9 10 11 12 13 14 15 16 17 18 19 20 21 22 23 24 25 26 27 28 29 30 31 32 33 |
package com.phaisarn.myapplication; import android.app.Instrumentation; import android.support.v7.app.AppCompatActivity; import android.os.Bundle; import android.util.Log; import android.view.KeyEvent; public class MainActivity extends AppCompatActivity { @Override protected void onCreate(Bundle savedInstanceState) { super.onCreate(savedInstanceState); setContentView(R.layout.activity_main); new Thread(new Runnable() { @Override public void run() { try { Instrumentation inst = new Instrumentation(); for (int i = 0; i < 10; ++i) { inst.sendKeyDownUpSync(KeyEvent.KEYCODE_MENU); Thread.sleep(2000); inst.sendKeyDownUpSync(KeyEvent.KEYCODE_BACK); Thread.sleep(2000); } } catch (InterruptedException e) { Log.d("Jack", e.getMessage()); } } }).start(); } } |
บรรทัดที่ 20 : เรียกใช้ Instrumentation
พอรันแล้วเหมือนถูกกด Back แล้วแอพก็หายไปเลย ไม่กลับมา
แต่ก็ถือว่าส่งคีย์ได้
Link
- Android simulate key press
- developer.android.com added in API level 1 KeyEvent
การใช้ไลบรารี่ Material Calendar View เพื่อแสดงปฏิทิน
ไลบรารี่ Material Calendar View
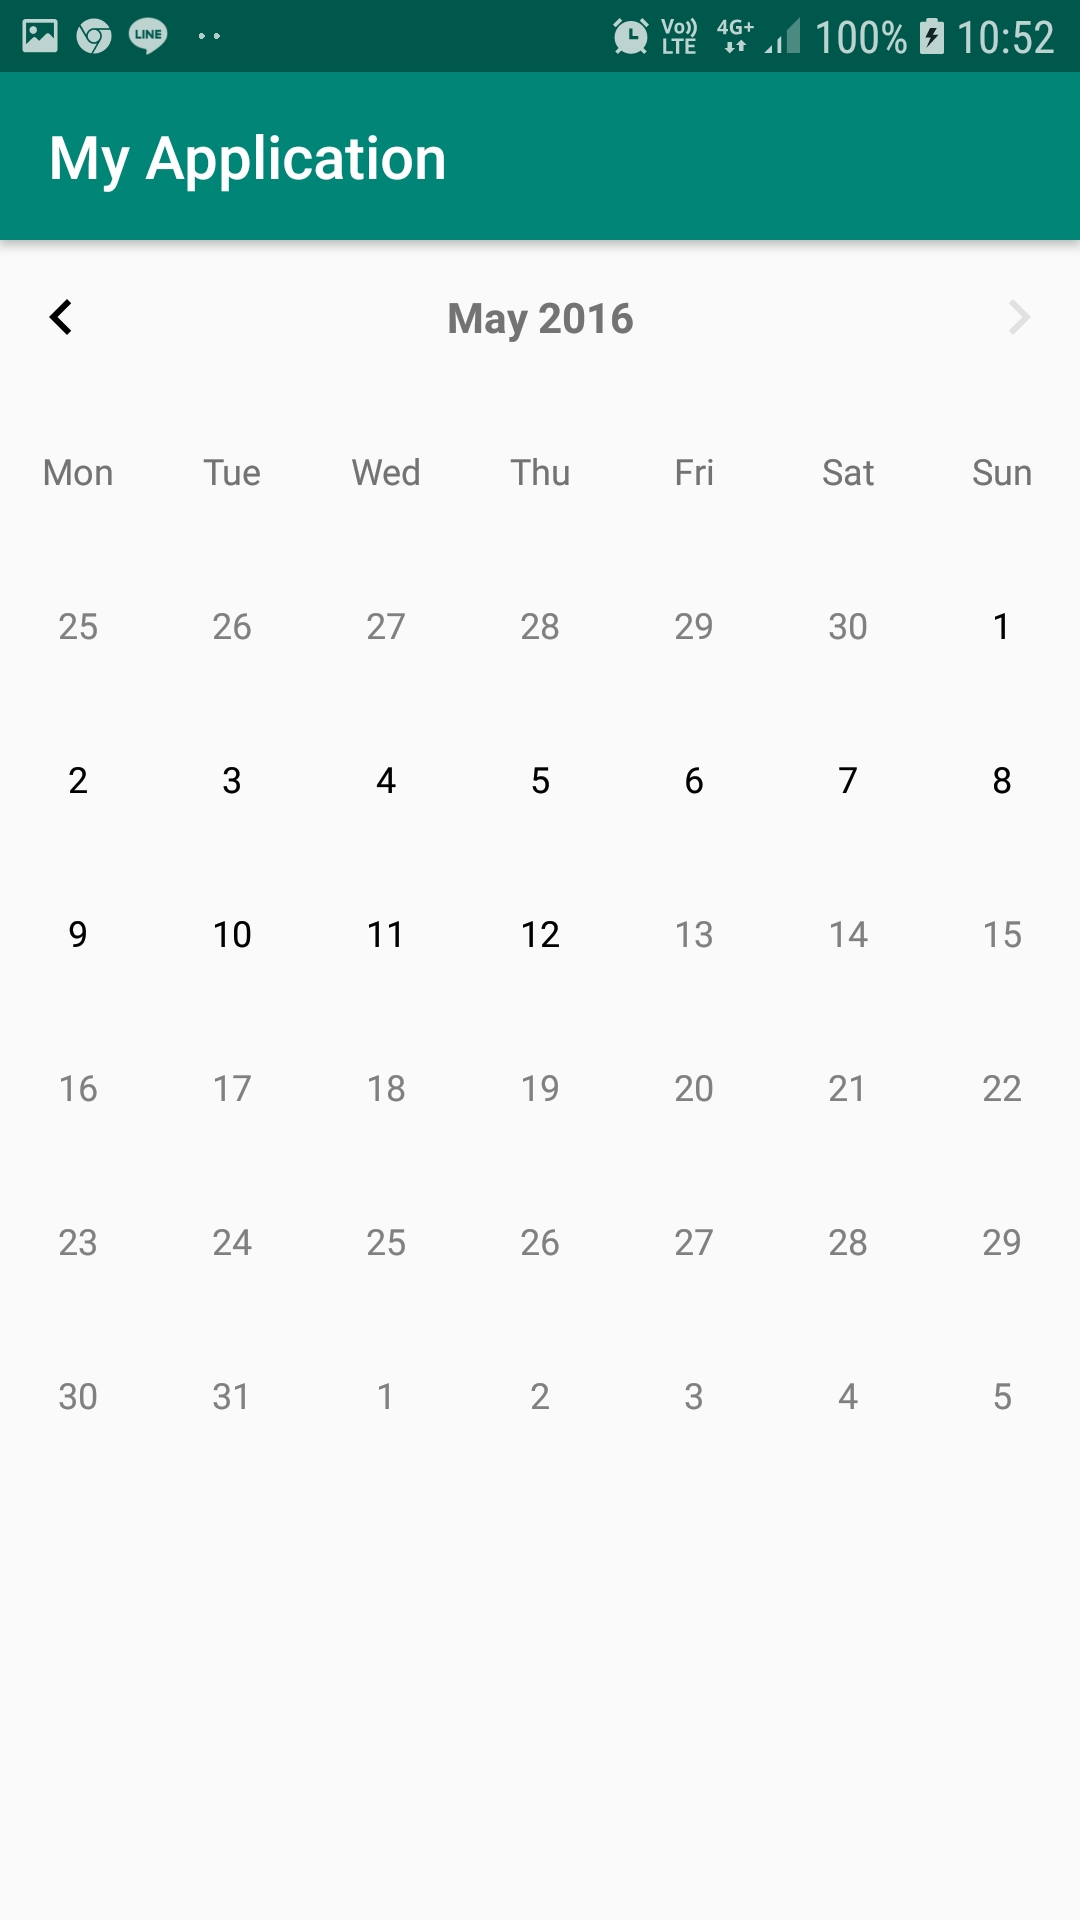
ถ้าเครื่อง Android กำหนดเป็นภาษาอังกฤษก็จะได้ปฏิทินภาษาอังกฤษเหมือนภาพซ้าย
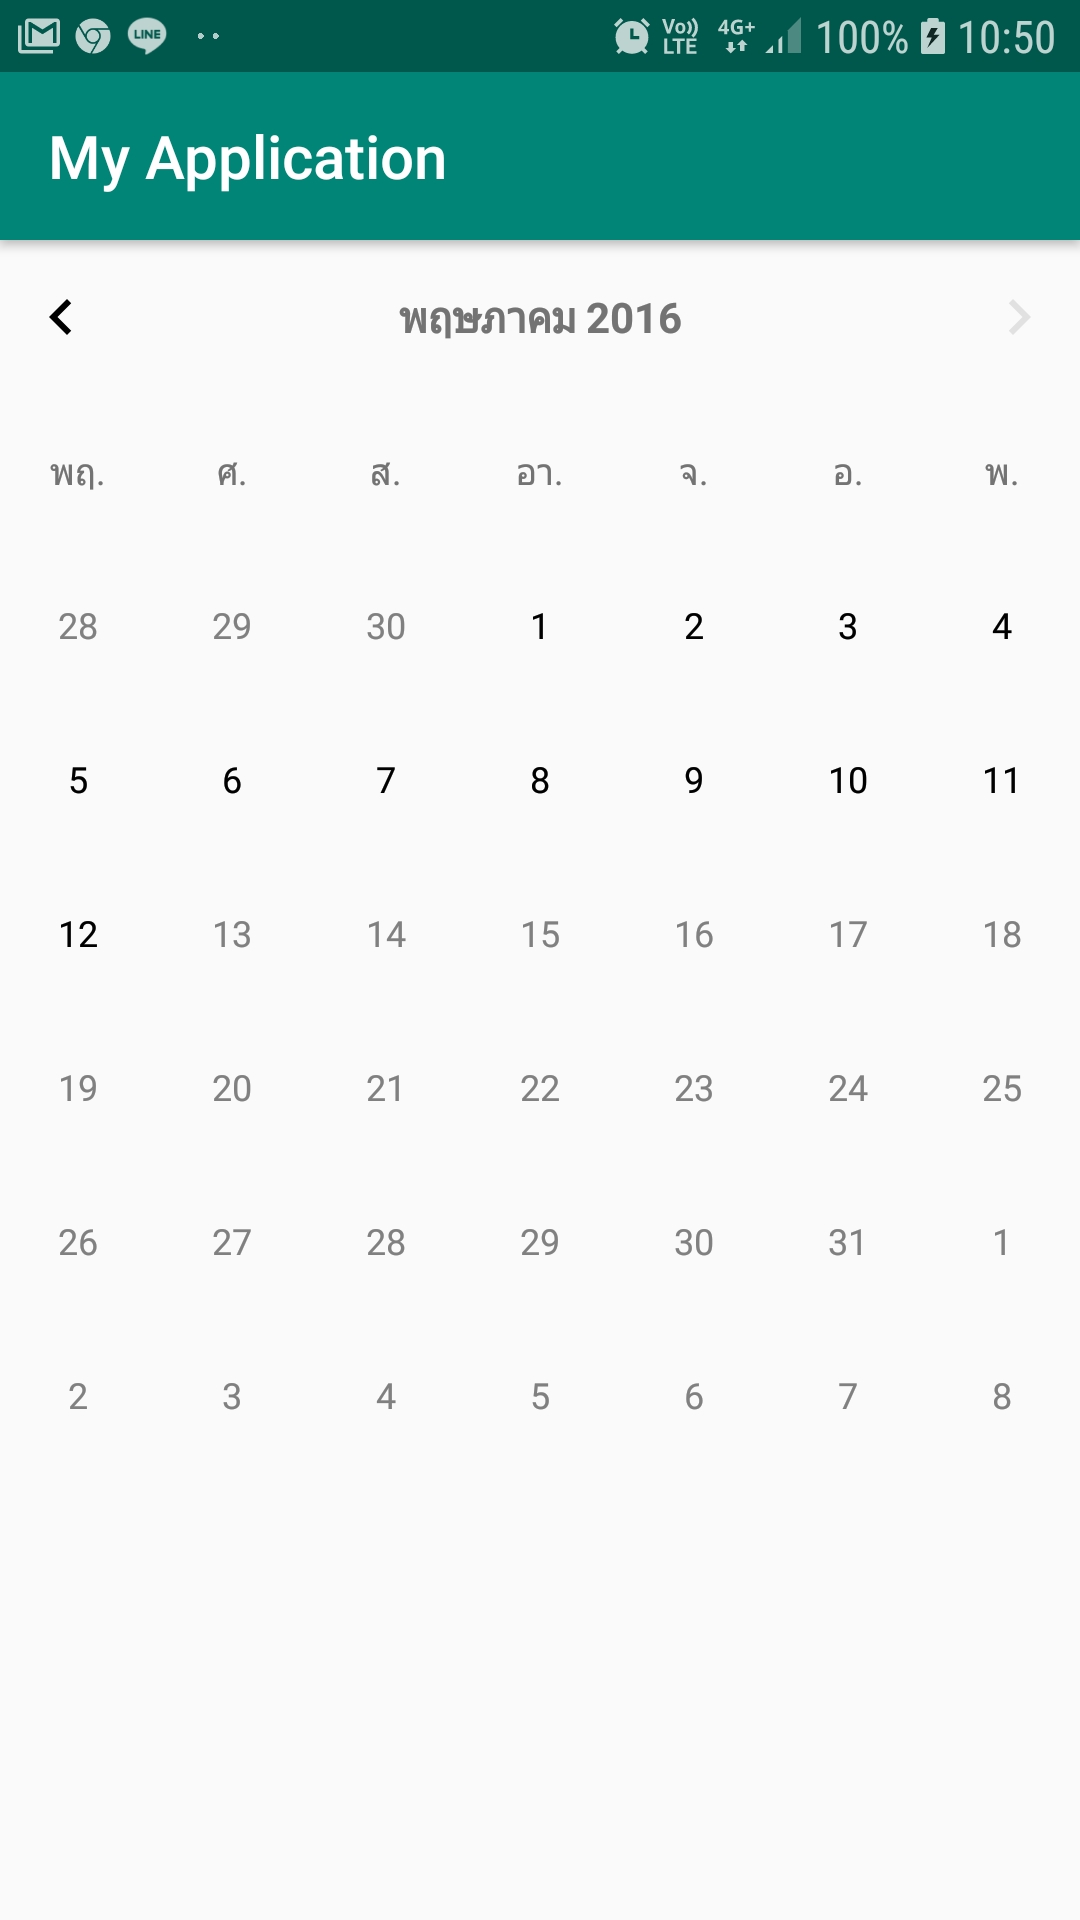
ถ้าเครื่อง Android กำหนดเป็นภาษาไทยก็จะได้ปฏิทินภาษาไทยเหมือนภาพขวา
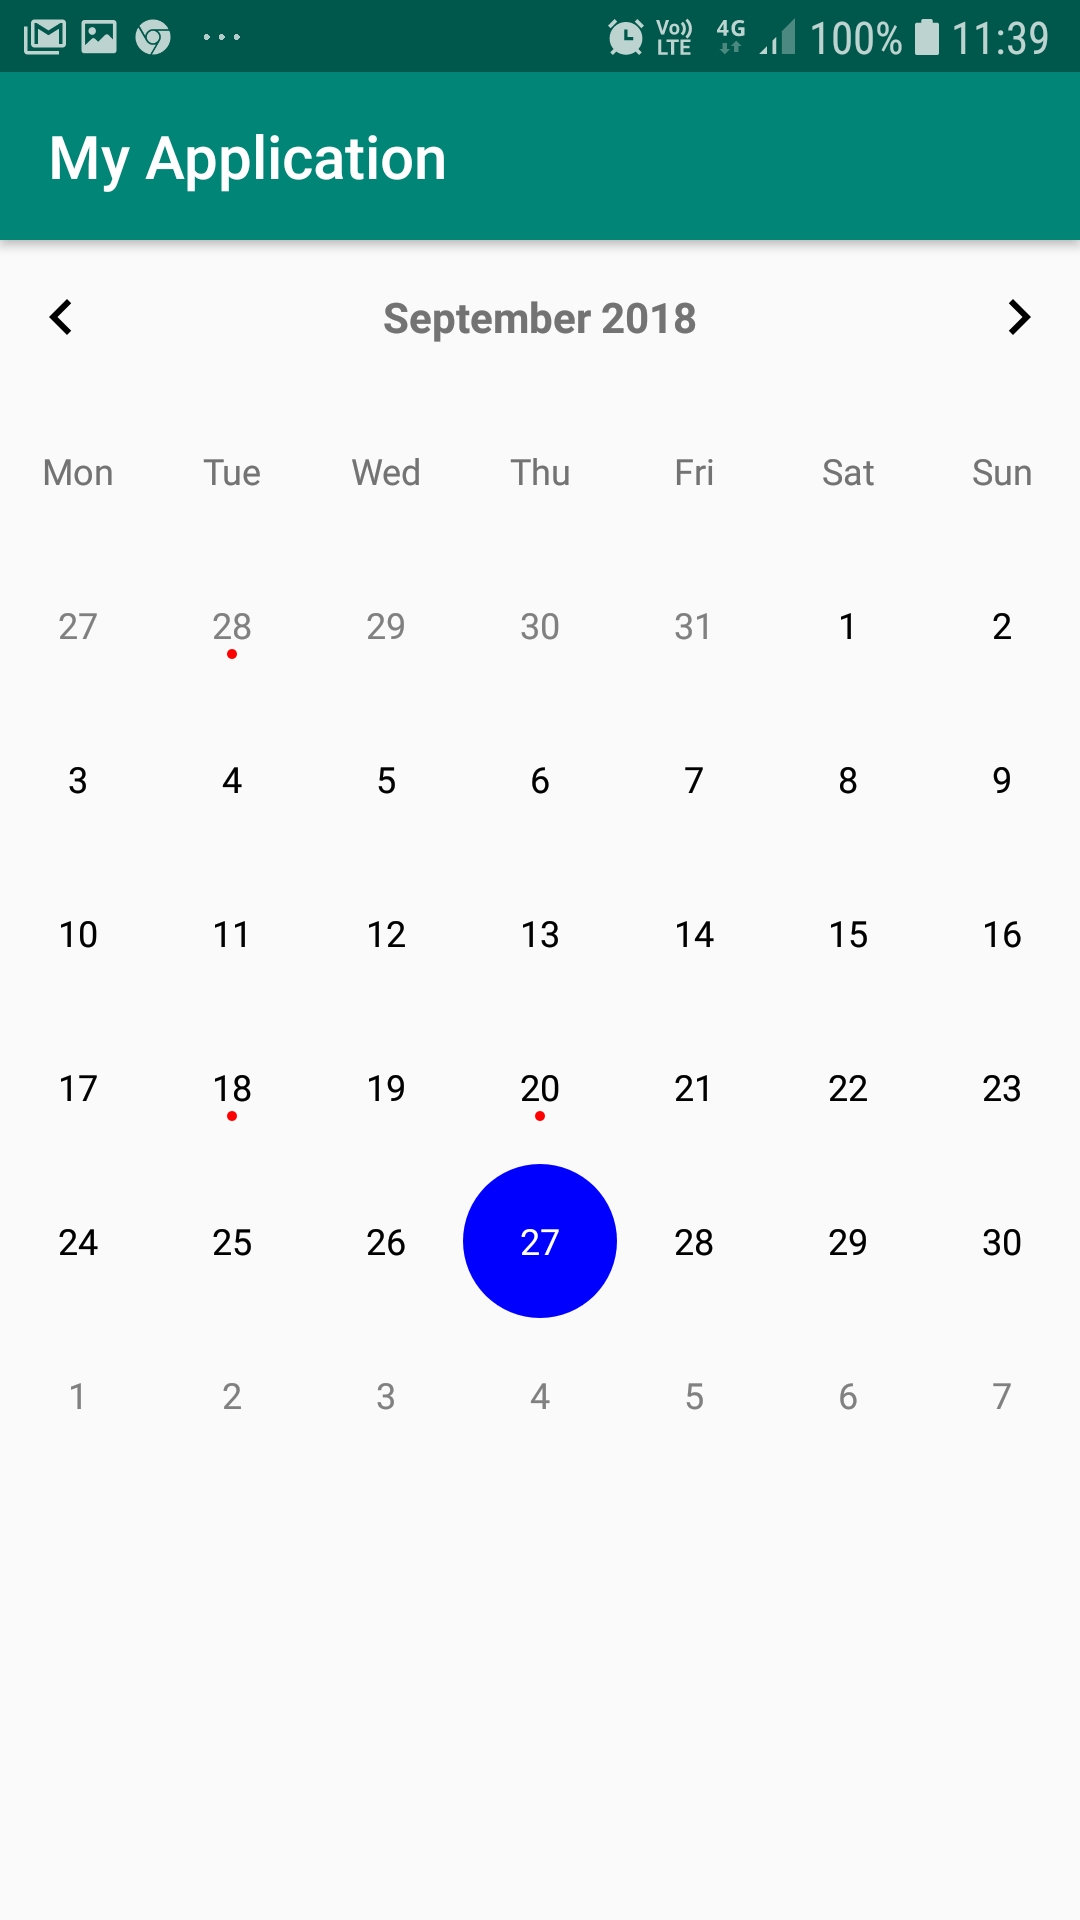
แสดงวันที่มี Event เป็นจุดสีแดงใต้วันนั้นๆ
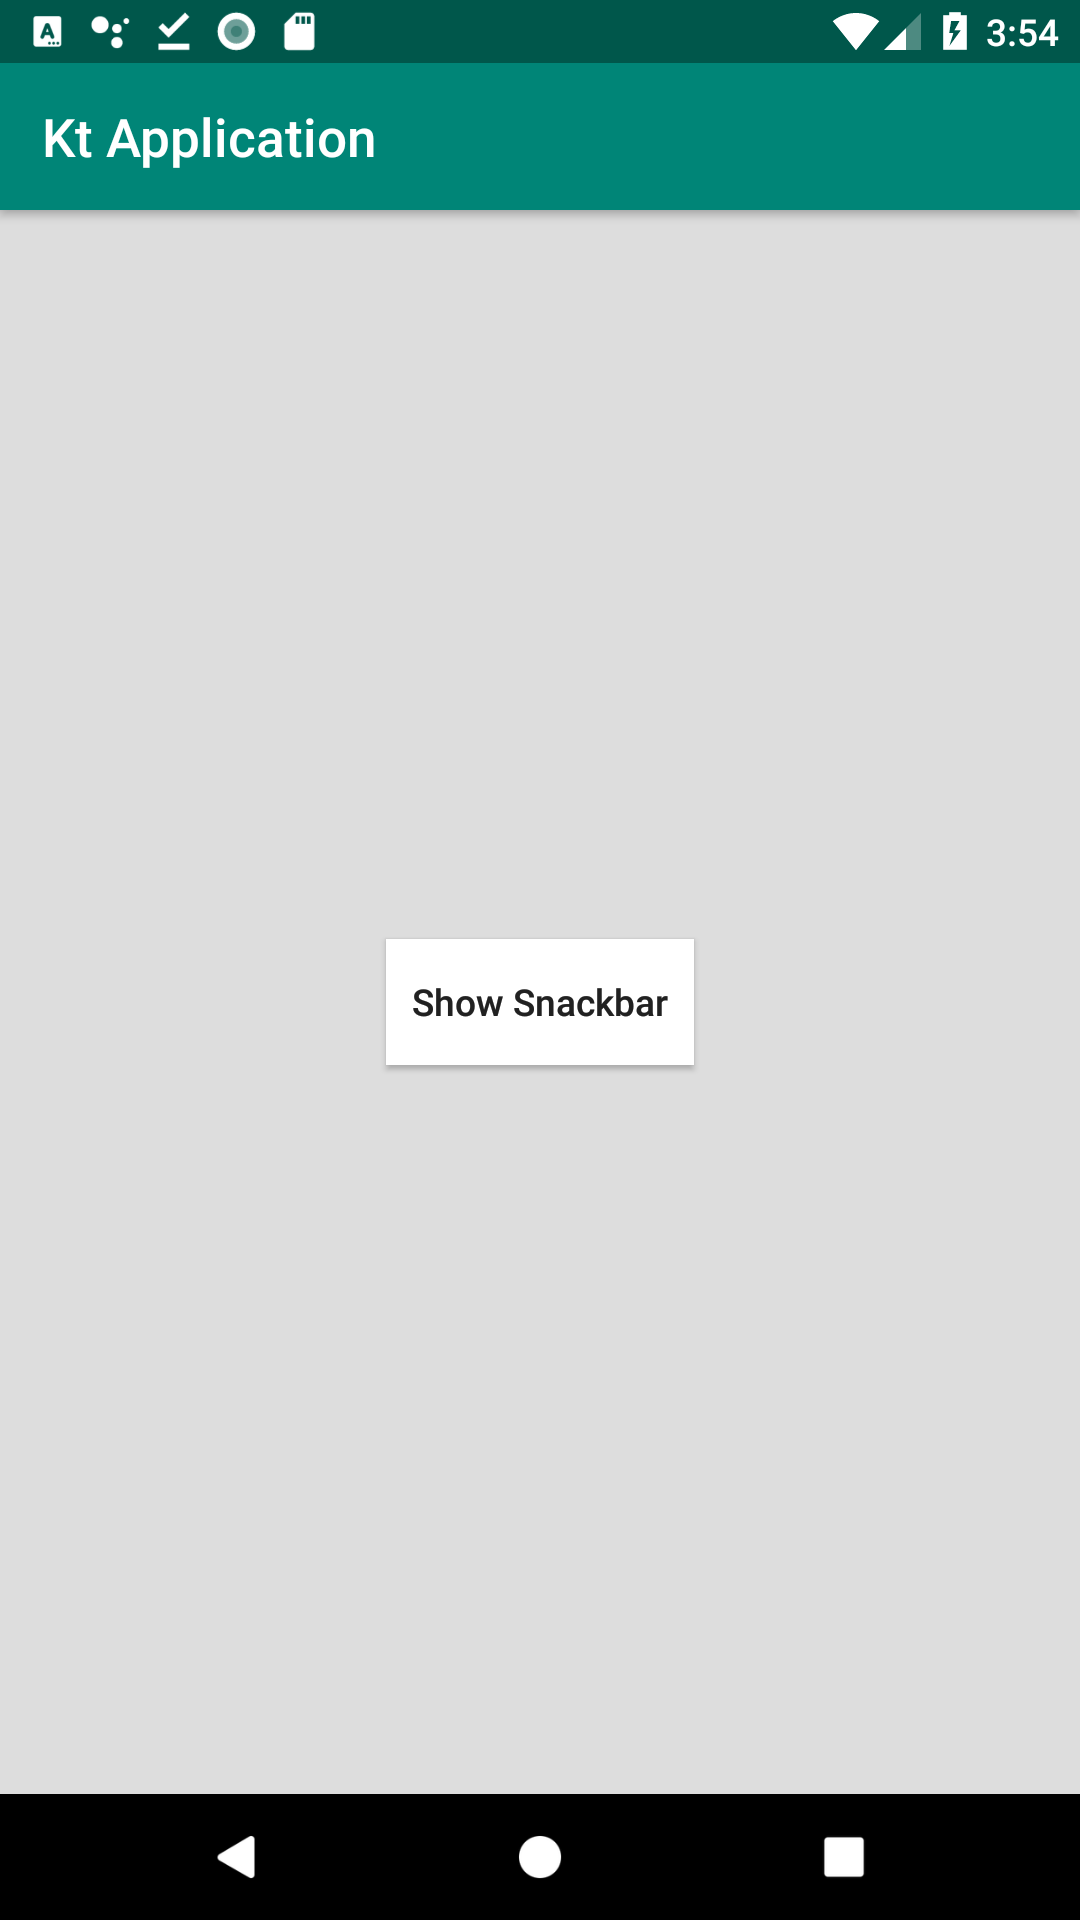
Kt: การใช้งาน Snackbar

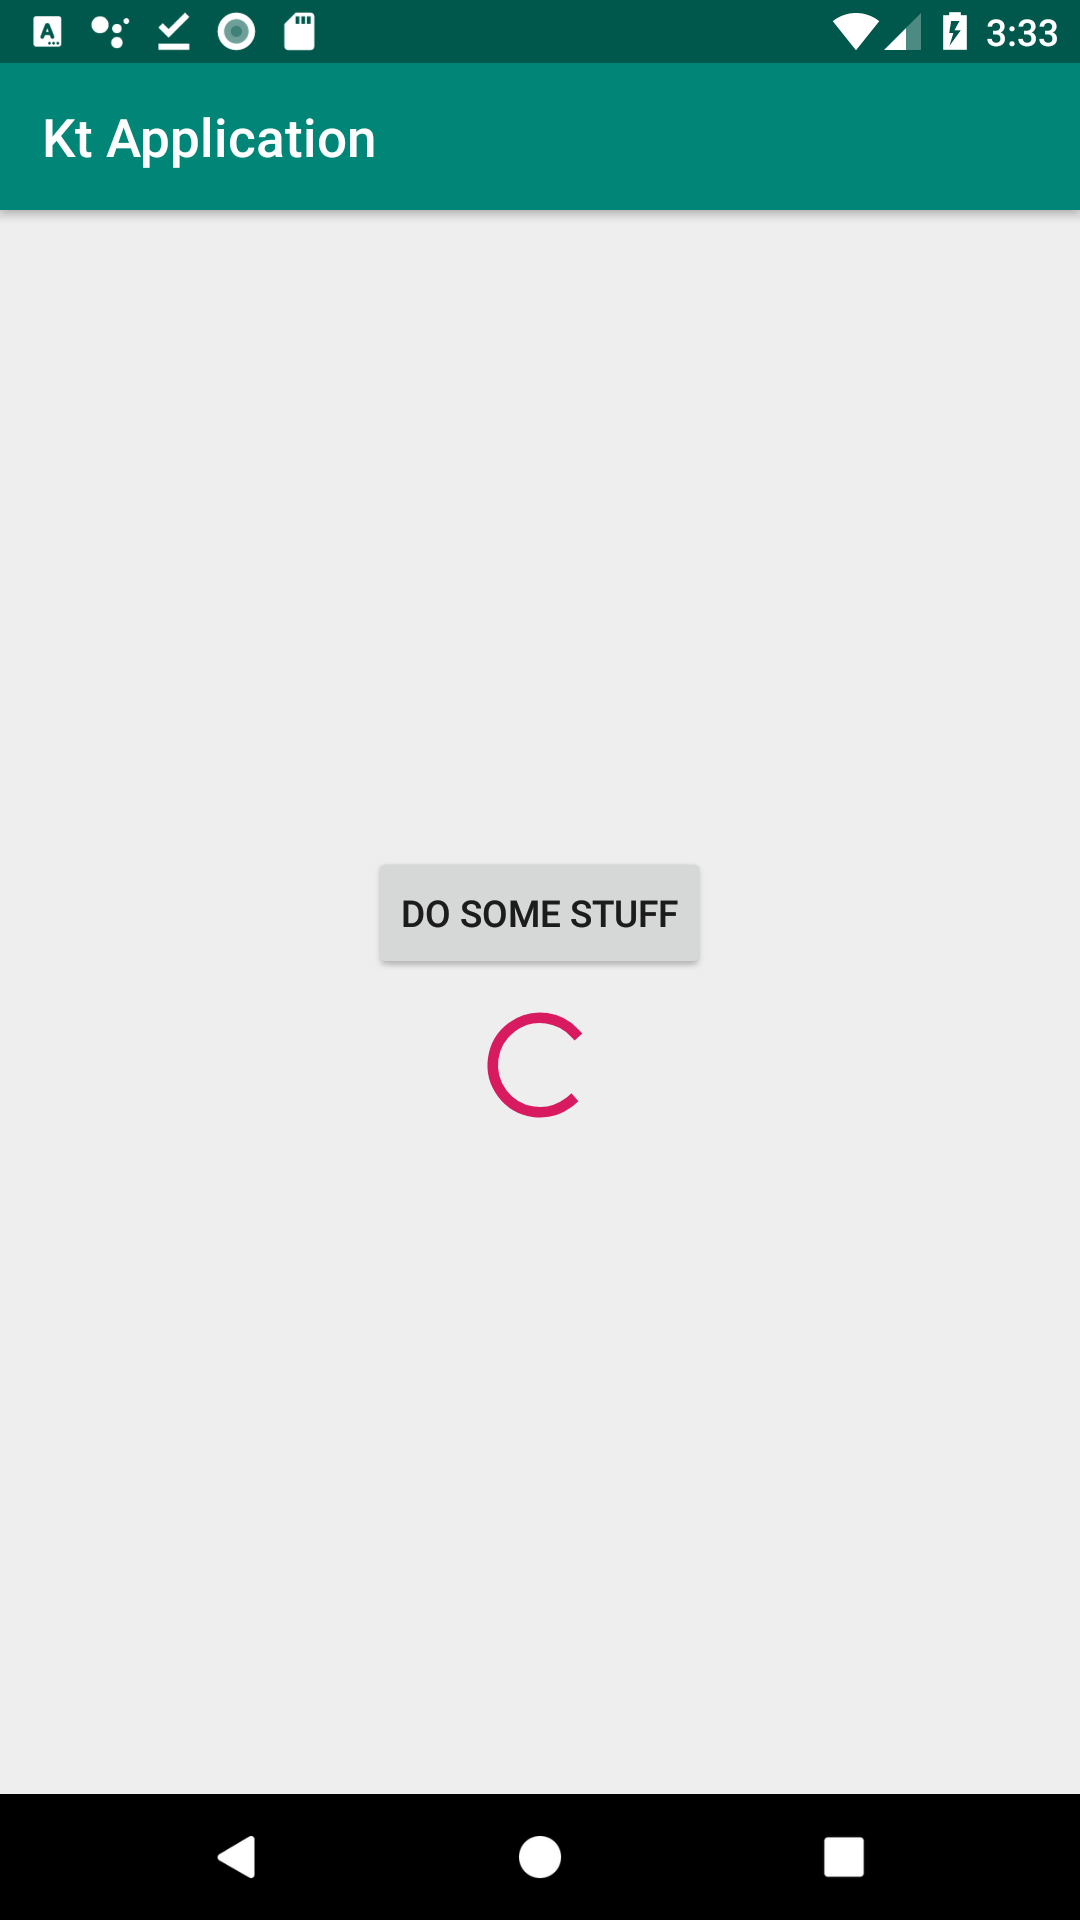
Kt: การใช้ ProgressBar

การฝังบราวเซอร์ในแอพโดยใช้เว็บวิว (WebView)
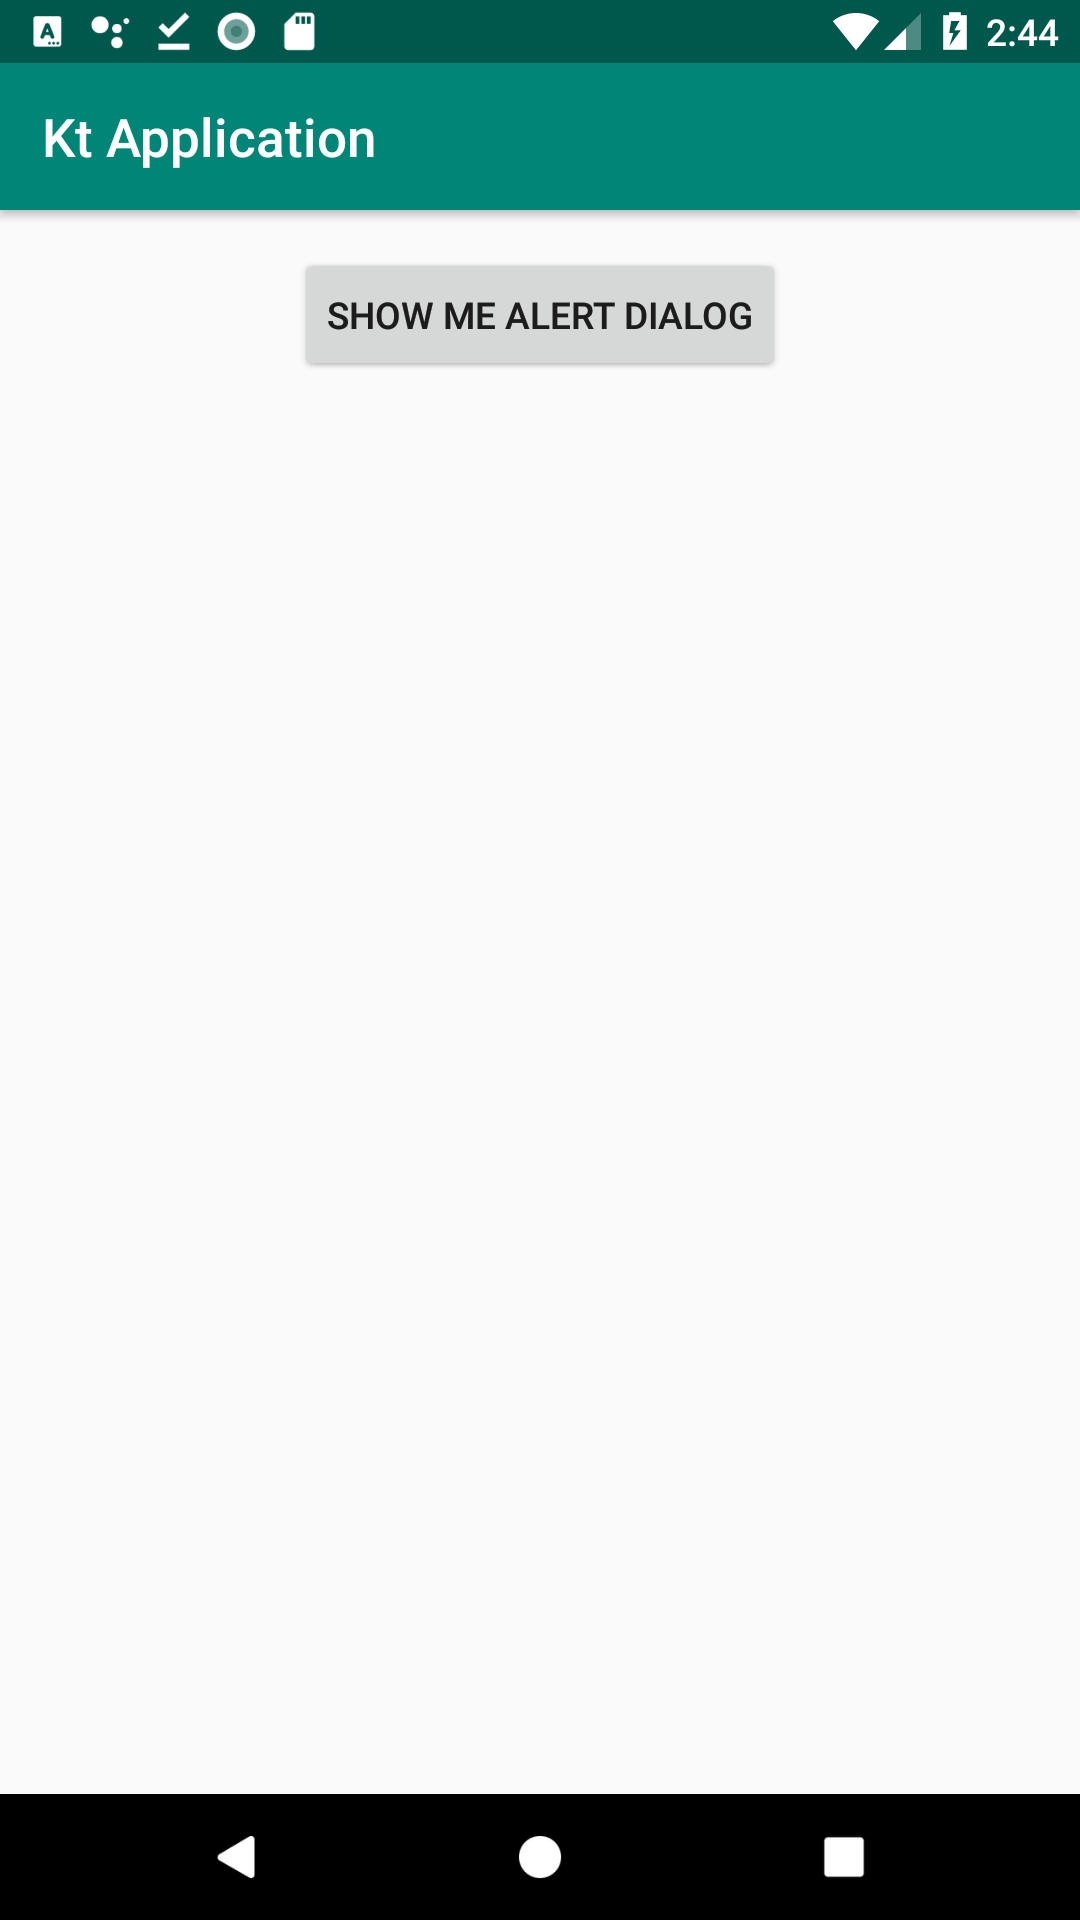
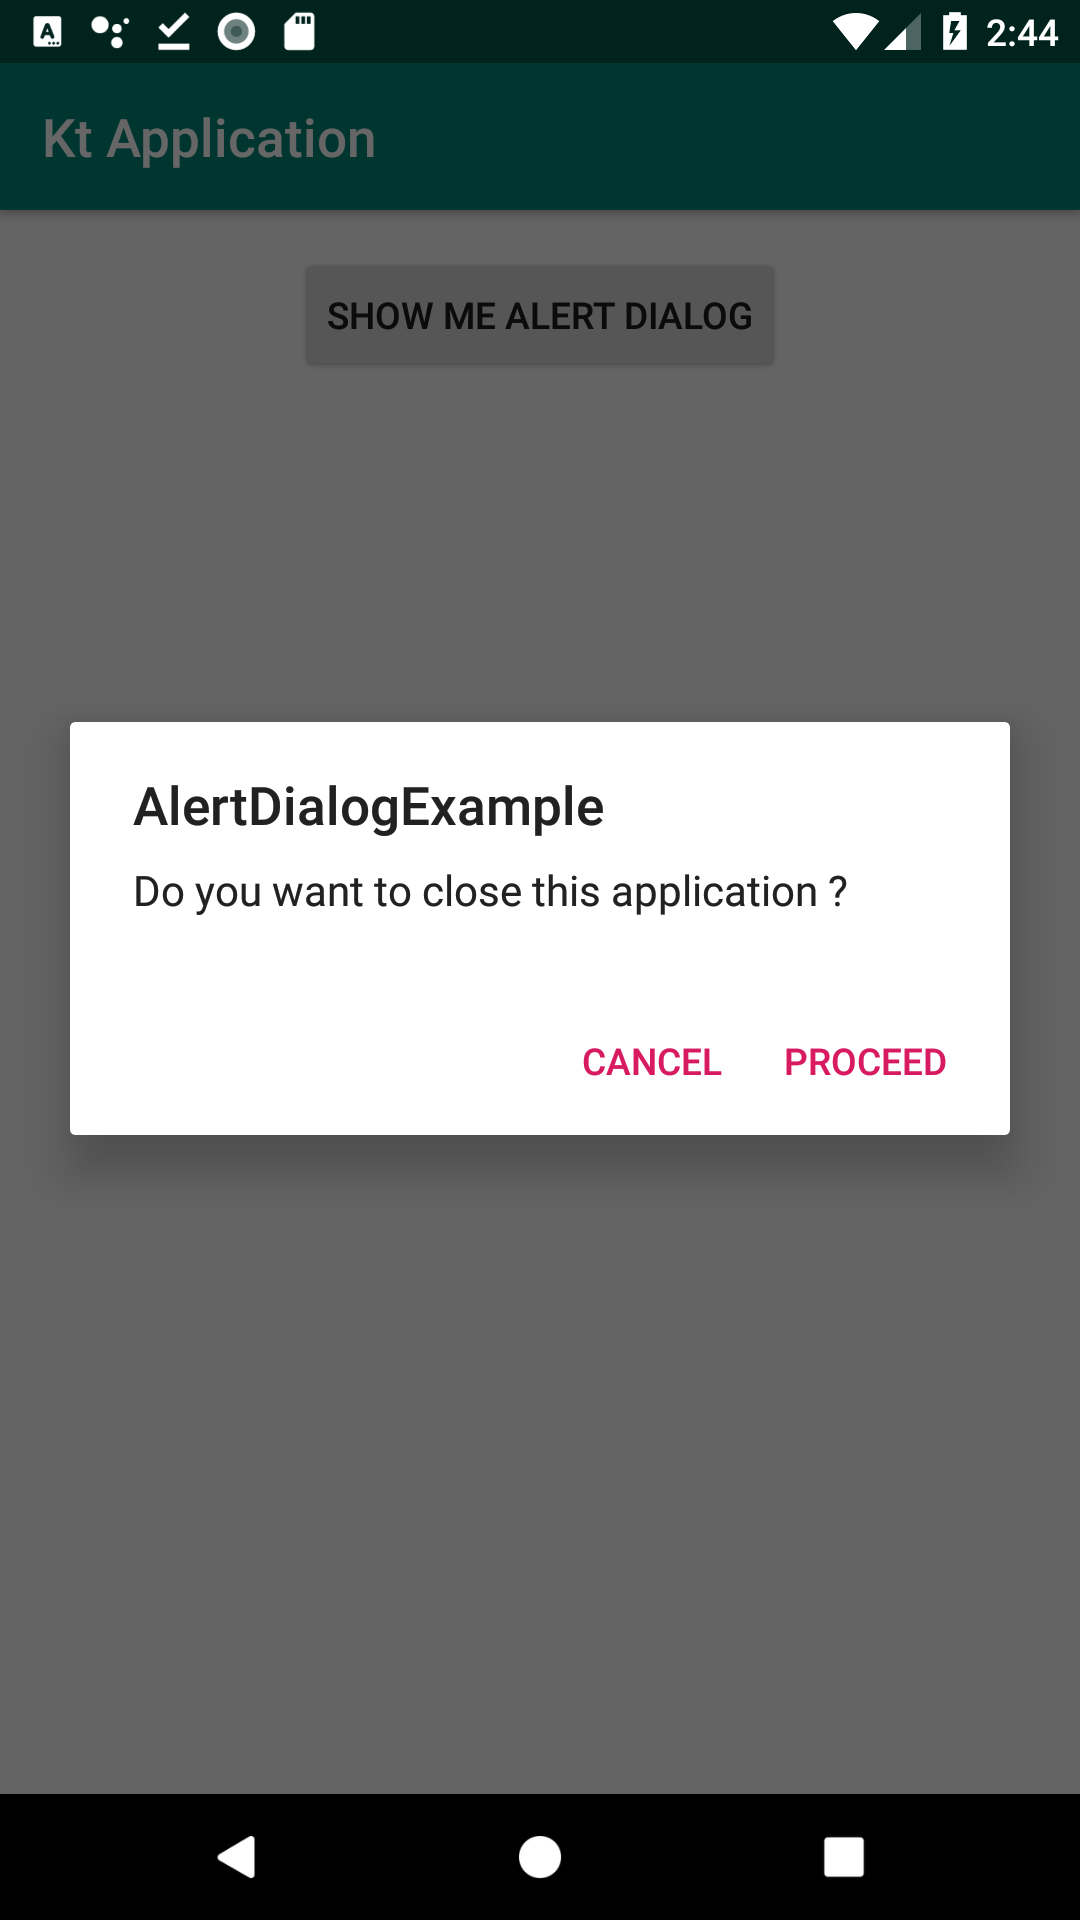
การแสดงไดอะล็อก Yes/No (AlertDialog)
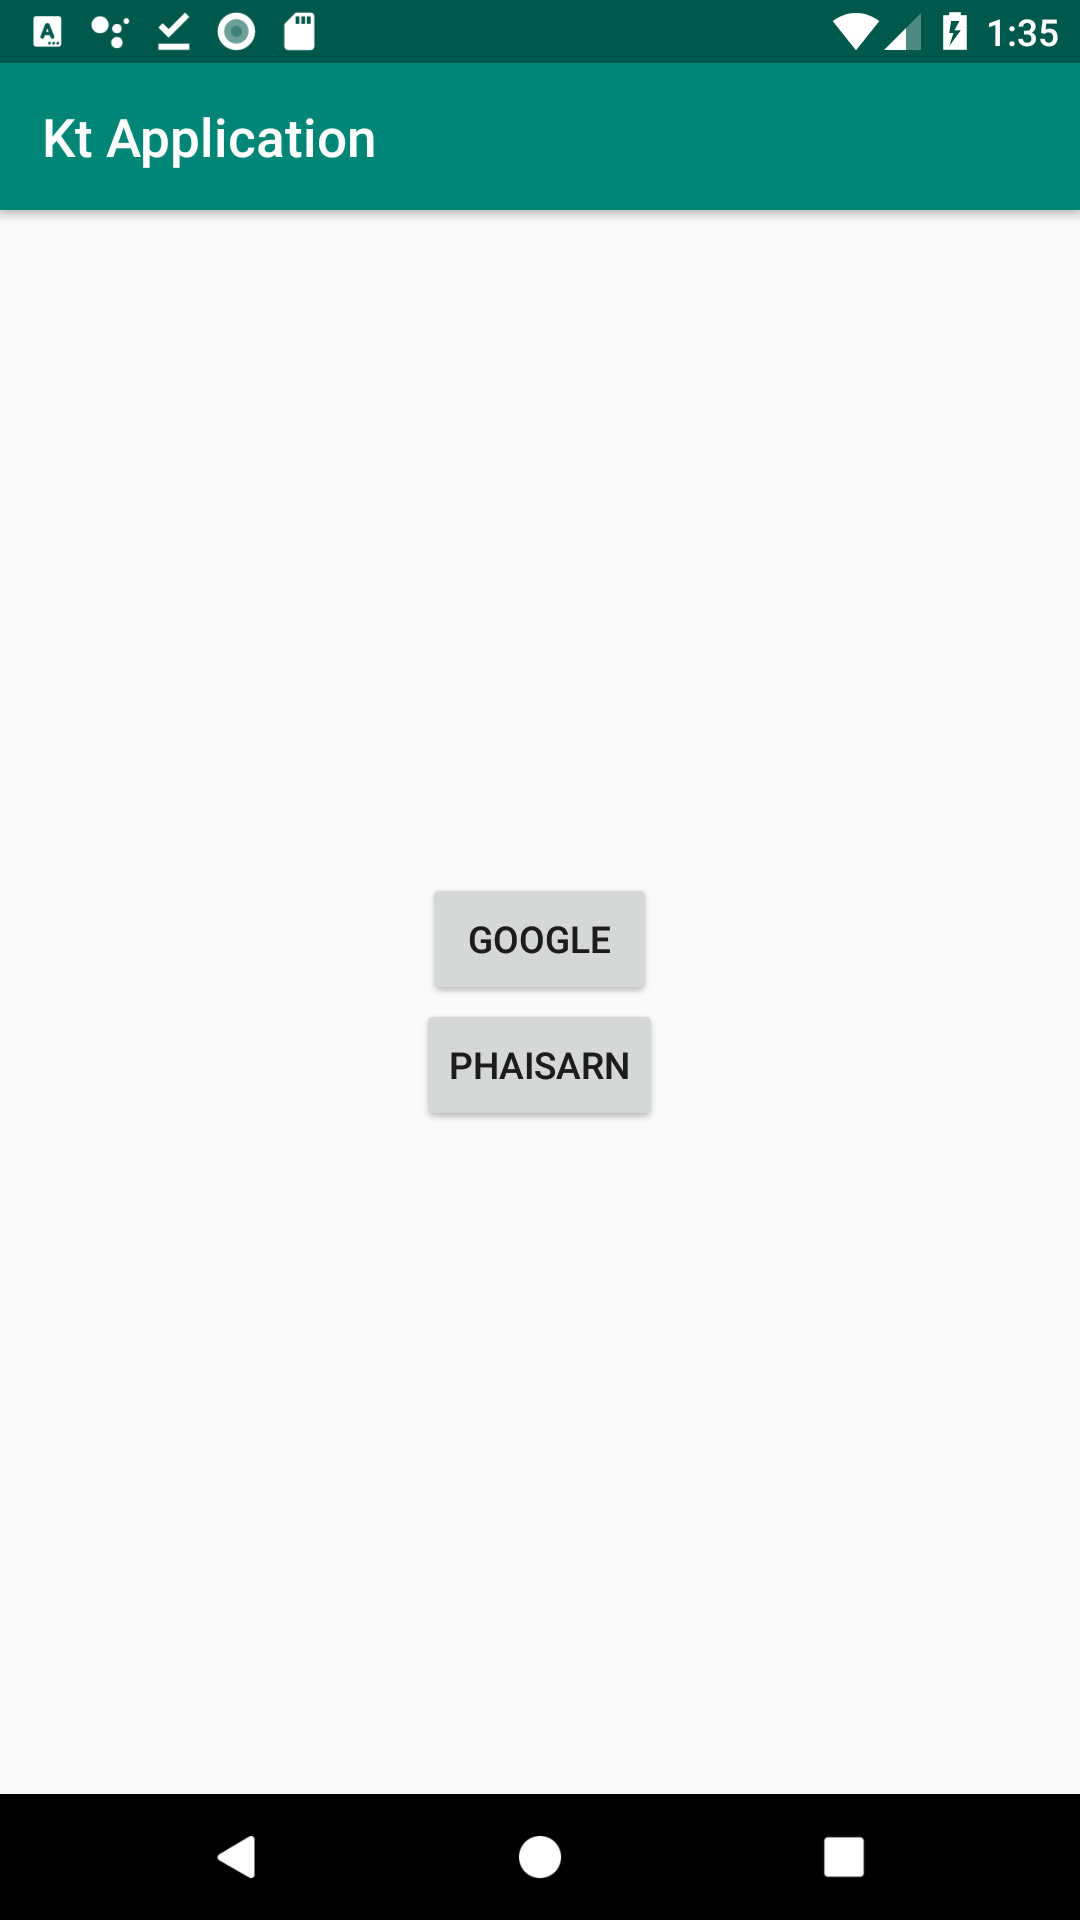
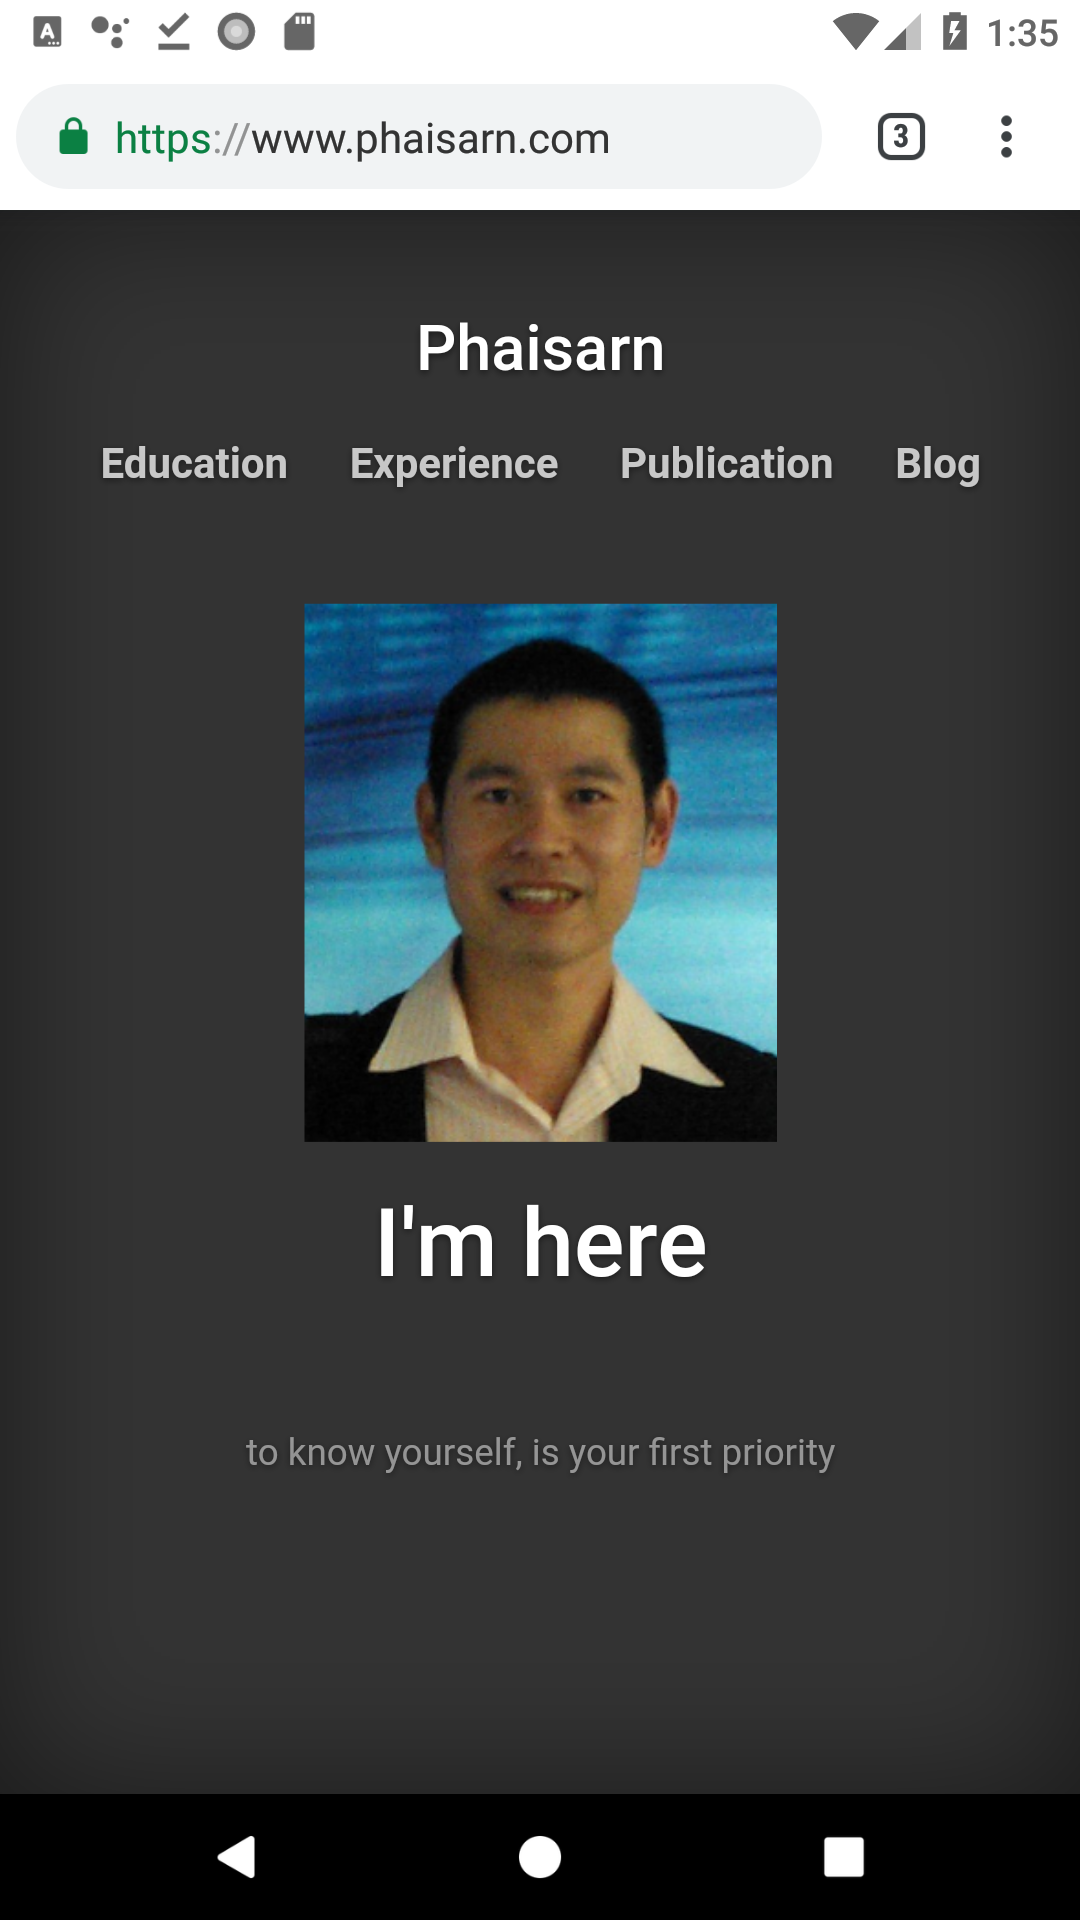
Kt: เปิด browser ด้วยการส่ง url ไปกับ Intent.ACTION_VIEW
กดปุ่มเพื่อเปิด url ที่กำหนดไว้ ด้วยการส่ง intent ออกไปเรียก web browser ของ android